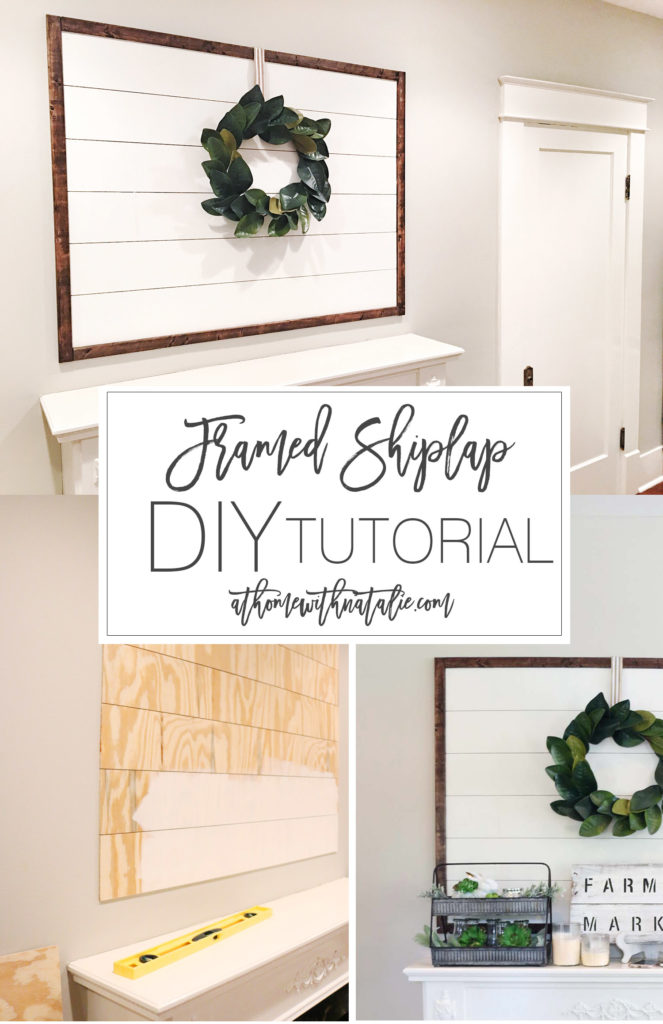
If you are like me, and want to affordably and quickly add some shiplap
touches to your home, this is a great project for you!
I have Chip and Joanna to thank for this obsession.
We aren’t going to be doing an entire room in shiplap,
(even though I WANT too..haha.) So this was a good option for us!
This project is a lot easier than you think too. I went to Home Depot and had them cut most of the wood for me!
The kids think it’s so fun watching them cut it. They know me at my store now….I go in there weekly. ;)
“Hey..didn’t you build something last week?” “YES! Want to see my instagram of it??” hahaha.
I haven’t shared an officially finished mantle photo yet but I have been getting asked
about a tutorial so I really wanted to pull this together for you guys and share it!
SUPPLIES:
You don’t need much to make this!
1. A Piece of plywood. I got the smooth $12 version!
It’s called Underlayment
You could also use this kind.
2. Paint.
I used Sherwin Williams Alabaster White
And grabbed one of those small trim tray kits to make it super easy.
(roller and tray combined!)
3. Your trim wood! I used the 1/2 x 1 wood. It was 97 cents or something ridiculous like that.
Make sure you pick straight pieces. lol. I didn’t.
We just had to work with it a bit more to make it fit the best around the frame.
It’s rusticccc…
so…it doesn’t have to be perfectly perfect! ;)
4. Nails. or a Nail Gun.
5. A Nickel.
6. A Level.
7. Stain for Trim.
I got Varathane in Dark Walnut.
LOVED it. I grabbed it because it said it dries faster and with only one coat.
And it actually did that! I think it’s my new favorite stain.

STEPS:
This project really is EASY..you can do this!!!
It only takes a few steps to get that Fixer Upper look in your home.
Step One.
Decide the size you want! I measured above my fireplace and figured out how big I wanted.
I wanted mine to be around 51 inches wide and 29 inches tall.
But work with the space you have and use the basic material I share below, to get the look you want!
Step Two.
Cut your wood. The plywood comes in 4×8 sheets.
I needed the width to be 4 feet… so I just had Home Depot cut my plywood into 6 inch planks.
SUPER EASY! And the best part about having them cut it is that you can easily fit it into your car!
Even with all the kiddos. :)
(I had two projects going so for my other plywood board I had
them cut the board from 8 to 6 feet… and thenn cut it into 6 inch planks.
I’ll share that playroom project soon!)
Step Three.
Putting it up is ways easier with a partner. So ask for another set of hands to help!
Ben and I worked together and finished this SO FAST.
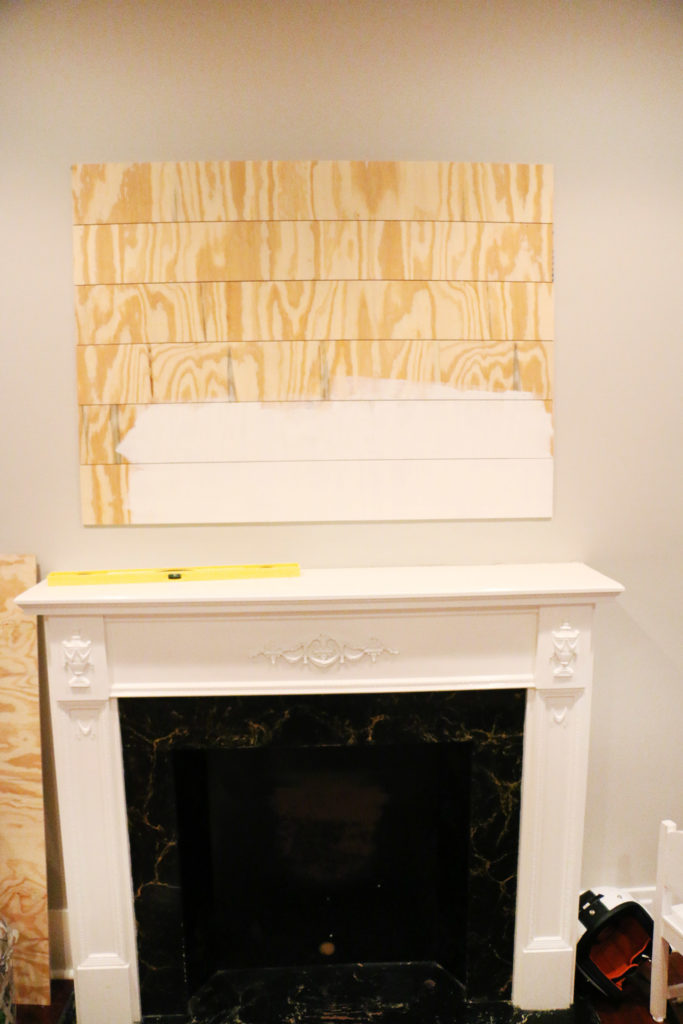
Just figure out where you want the first one to go.. level it.. and nail it in.
Then stick your nickel in there.
and put the next piece on the wall.
Then level… nail!
You just repeat the process over and over until you
have all of the planks up that you want!
Step Four.
Paint! I decided it would be easiest if I got the planks on the wall and then painted!
I put on two coats and it was ready to roll!
Step Five.
Time to trim it out! If you want to frame out the shiplap like I did, you want to have the
top and pieces be flush to the width you have up.
So cut and stain those first pieces.
Nail them to the wall, and then you can measure
to see how long your side pieces need to be!
Cut those, stain them and nail them to the wall.
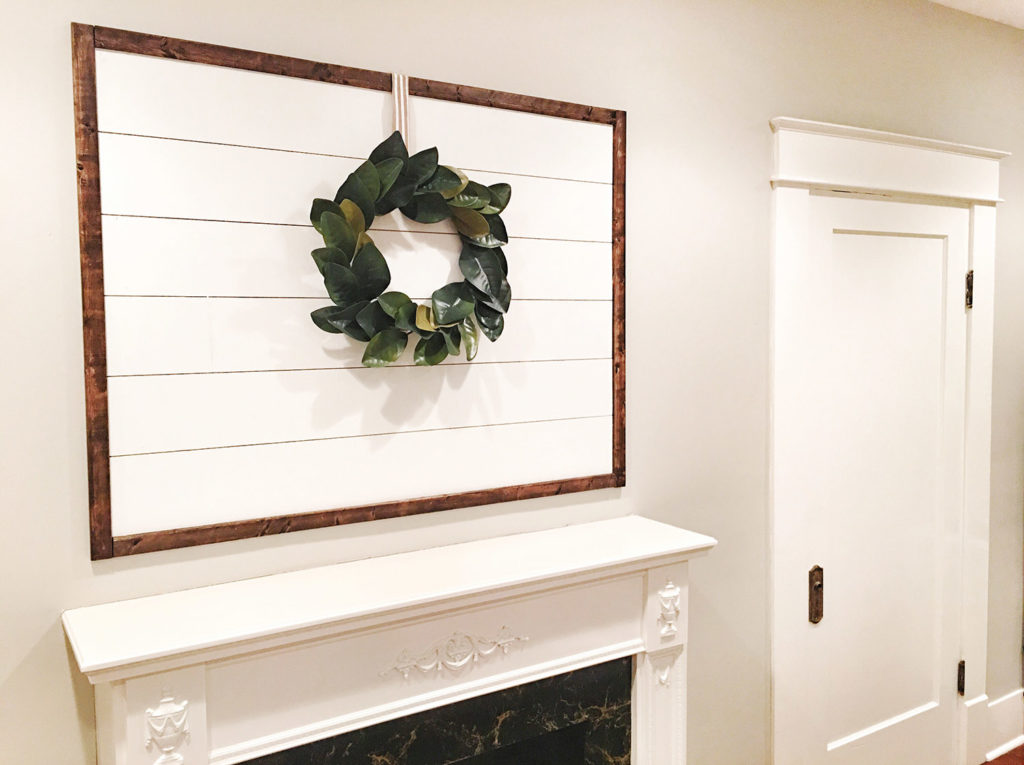
You are done! YAY SHIPLAP!
I loved how it added that farmhouse feel to the space!
I can’t do much about the fireplace for now, but this gave it that cozy touch I was wanting.
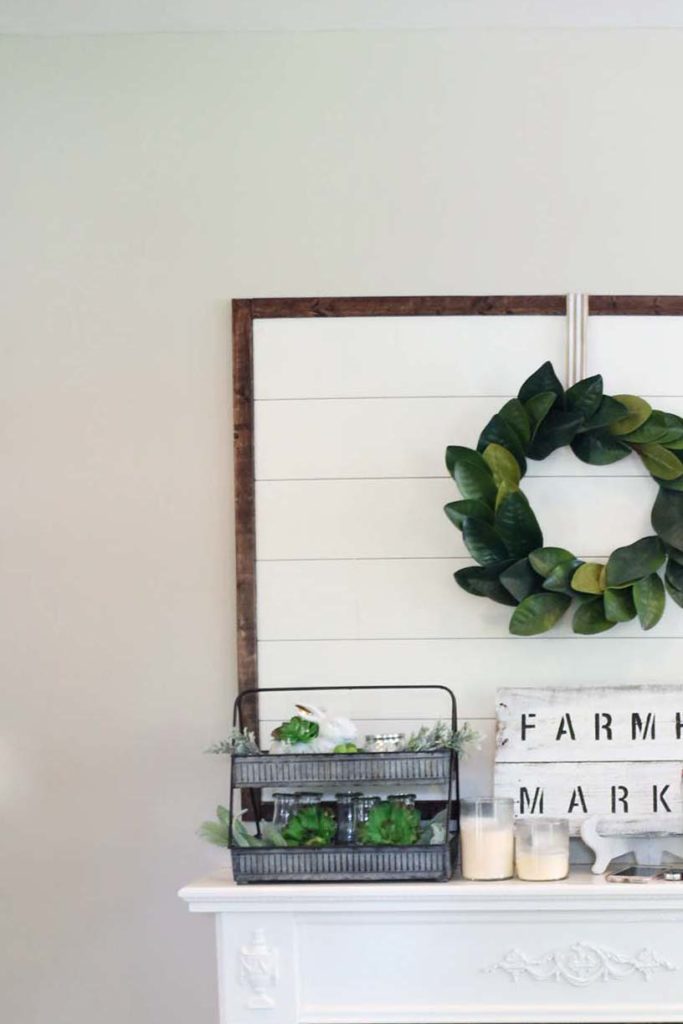
I’m still working on what I’ll put on my mantle…but I had this magnolia wreath from JoAnns.
(a sweet clearance find last year!) and I hung it right up with some ribbon and a nail at the top of the trim.
I’m excited to have a mantle to decorate!! In our last house the tv was on it…not pretty.
I’m excited to share the full mantle once I decorate it for fall! For now I put some of my favorite pieces and some candles up there.
Are you going to try this DIY?? Tag me on INSTAGRAM if you do!!


Kelly
September 24, 2016 at 7:28 amLove this! Such a great tutorial!
Ashley LaMar
September 25, 2016 at 4:42 pmThis is so fabulous! I’m absolutely going to do this when we finally get moved in to our house. Gorgeous look.
Christene A Holder
September 26, 2016 at 1:01 pmCute!!! I love this. I’m a fan of shiplap too but I don’t think I could do an entire room, too farmhouse for my style.
We are going to try and do a modern shiplap in our powder room, just on the lower portion of the wall. We got the materials though and did the same thing as you, cut down a large piece of plywood.
Thanks for sharing this. Hope you have a great week!
>> Christene
Harmony
November 7, 2016 at 10:17 pmLove this! So cute! Could you tell me what color the walls are?! Love it!! Thanks!