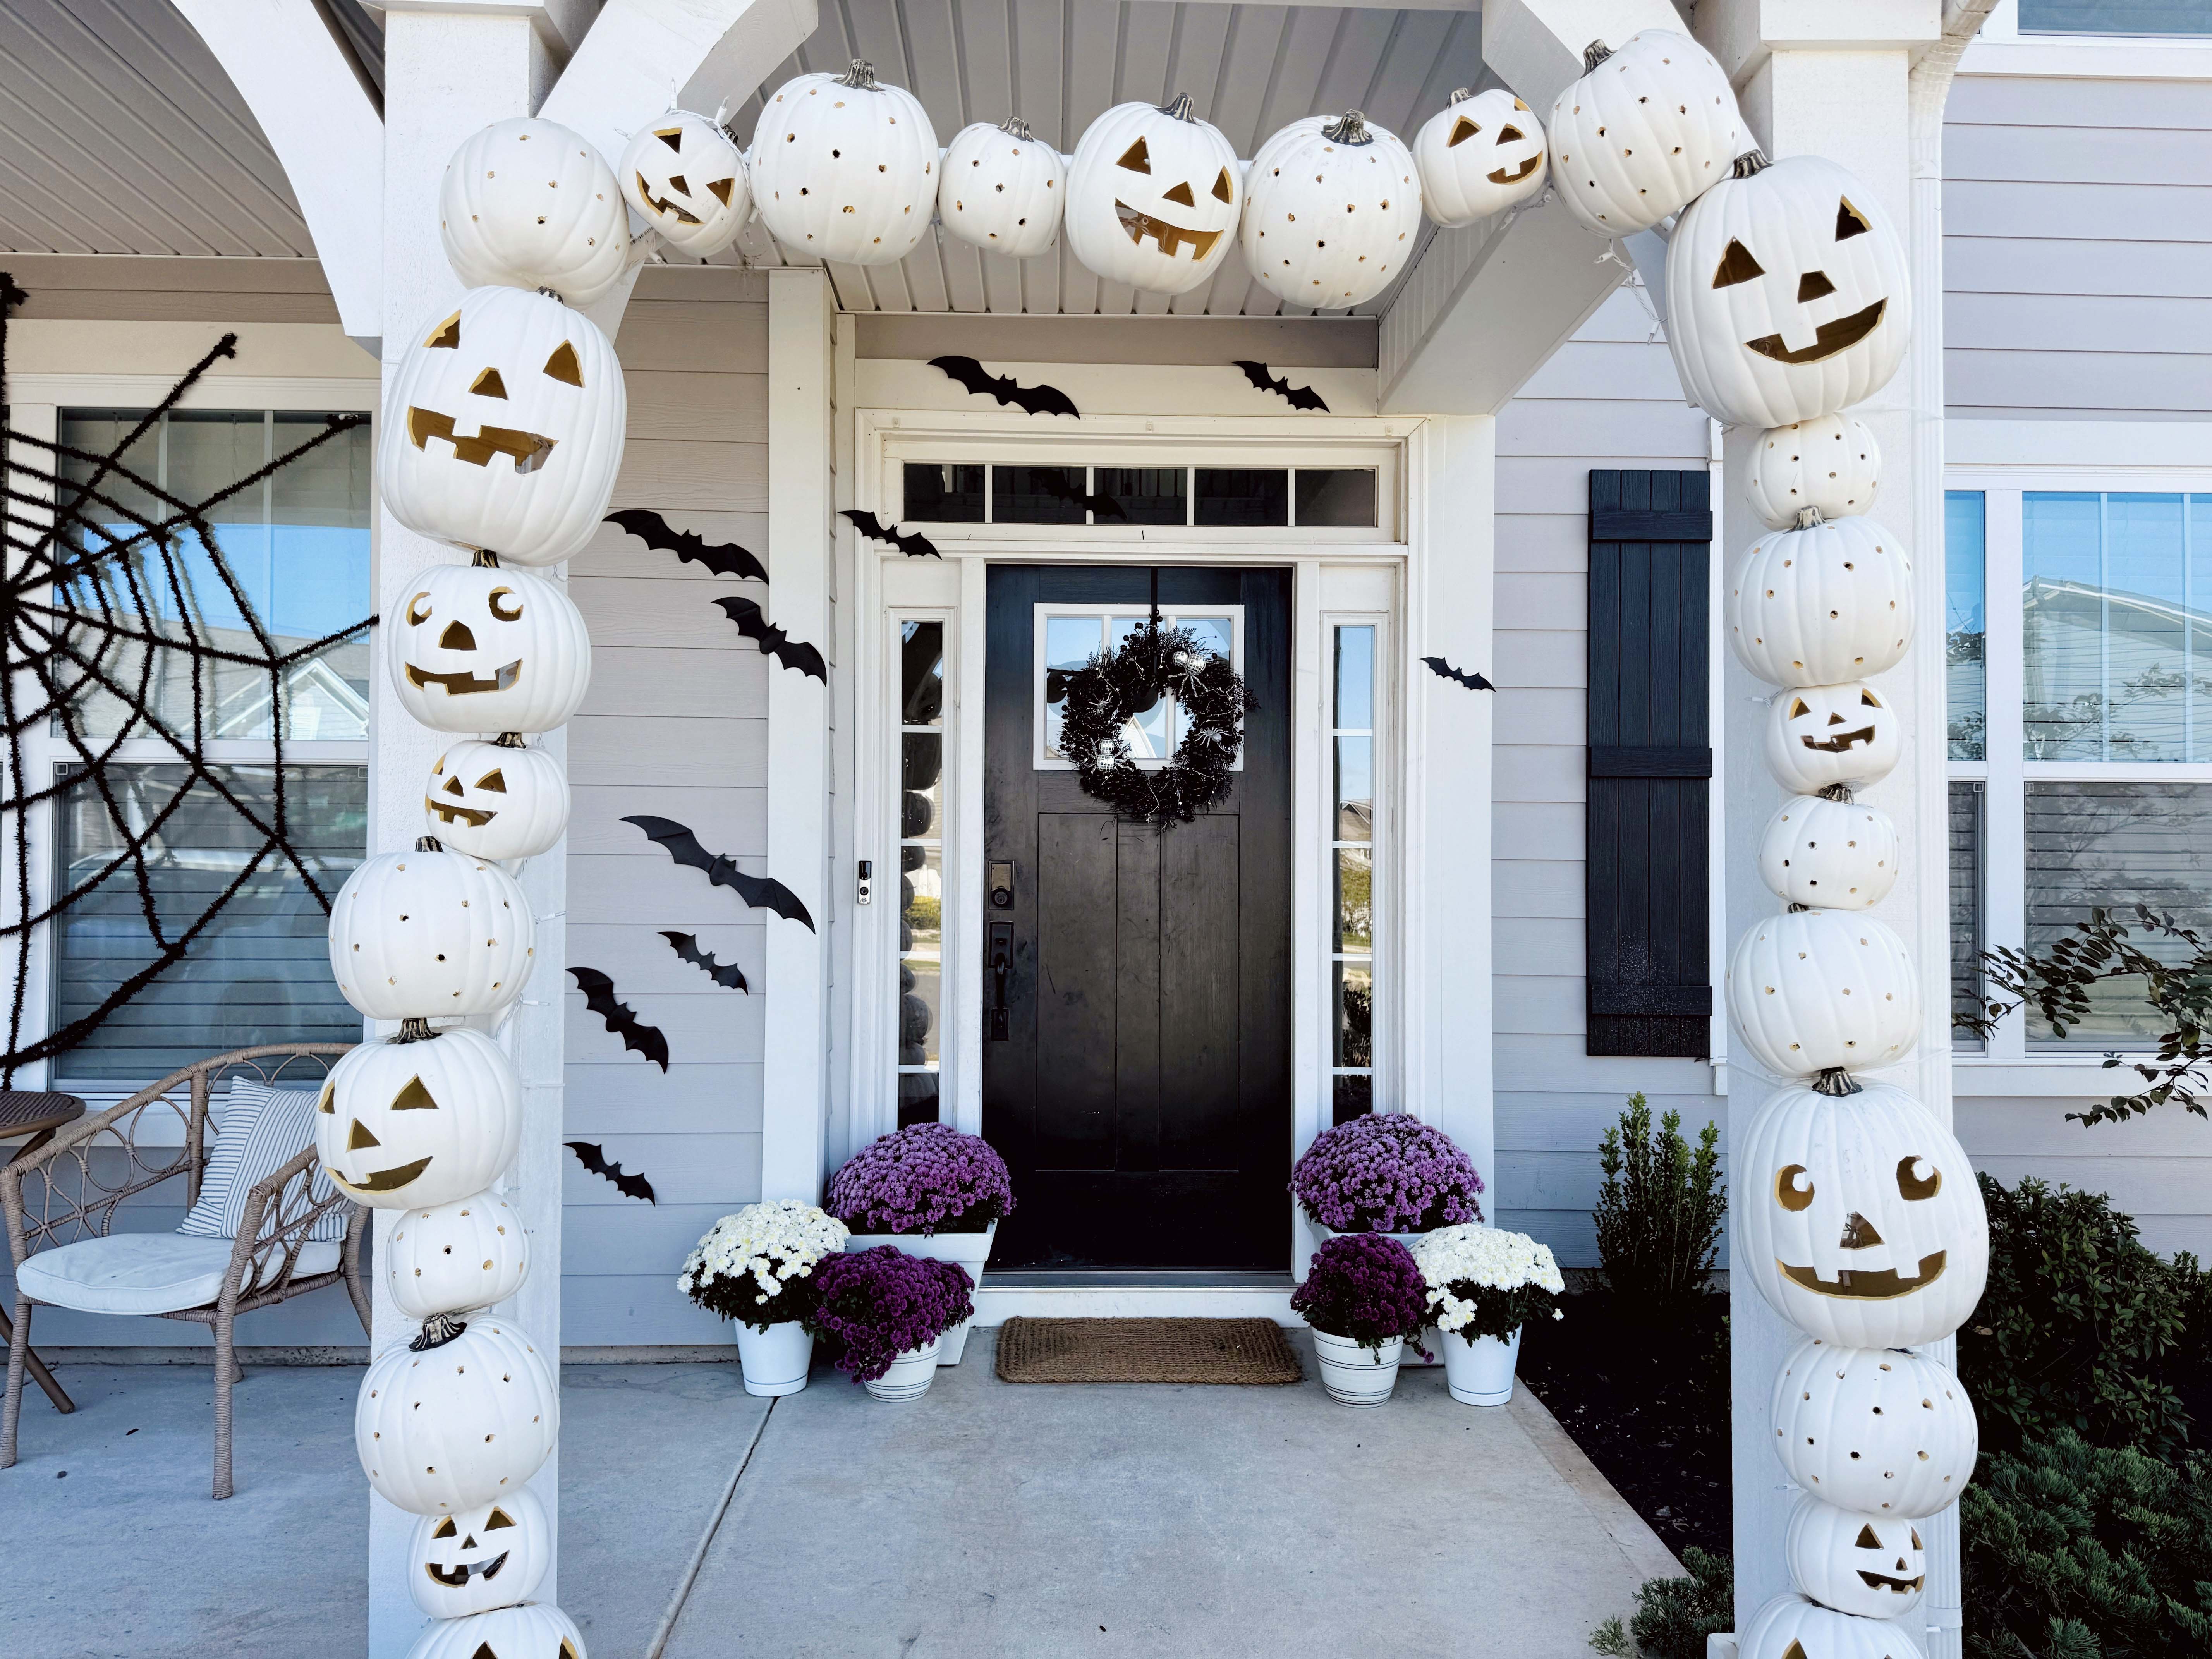
I love a holiday DIY that I can reuse every year! This pumpkin arch has been a favorite the past few years and I wanted to update the blog’s tutorial. Last year I gave the arch frame an upgrade using pvc pipes. It made the set up, this year, even easier! We don’t get too spooky around here but we love some whimsy! Here’s our take on the popular pumpkin arch!
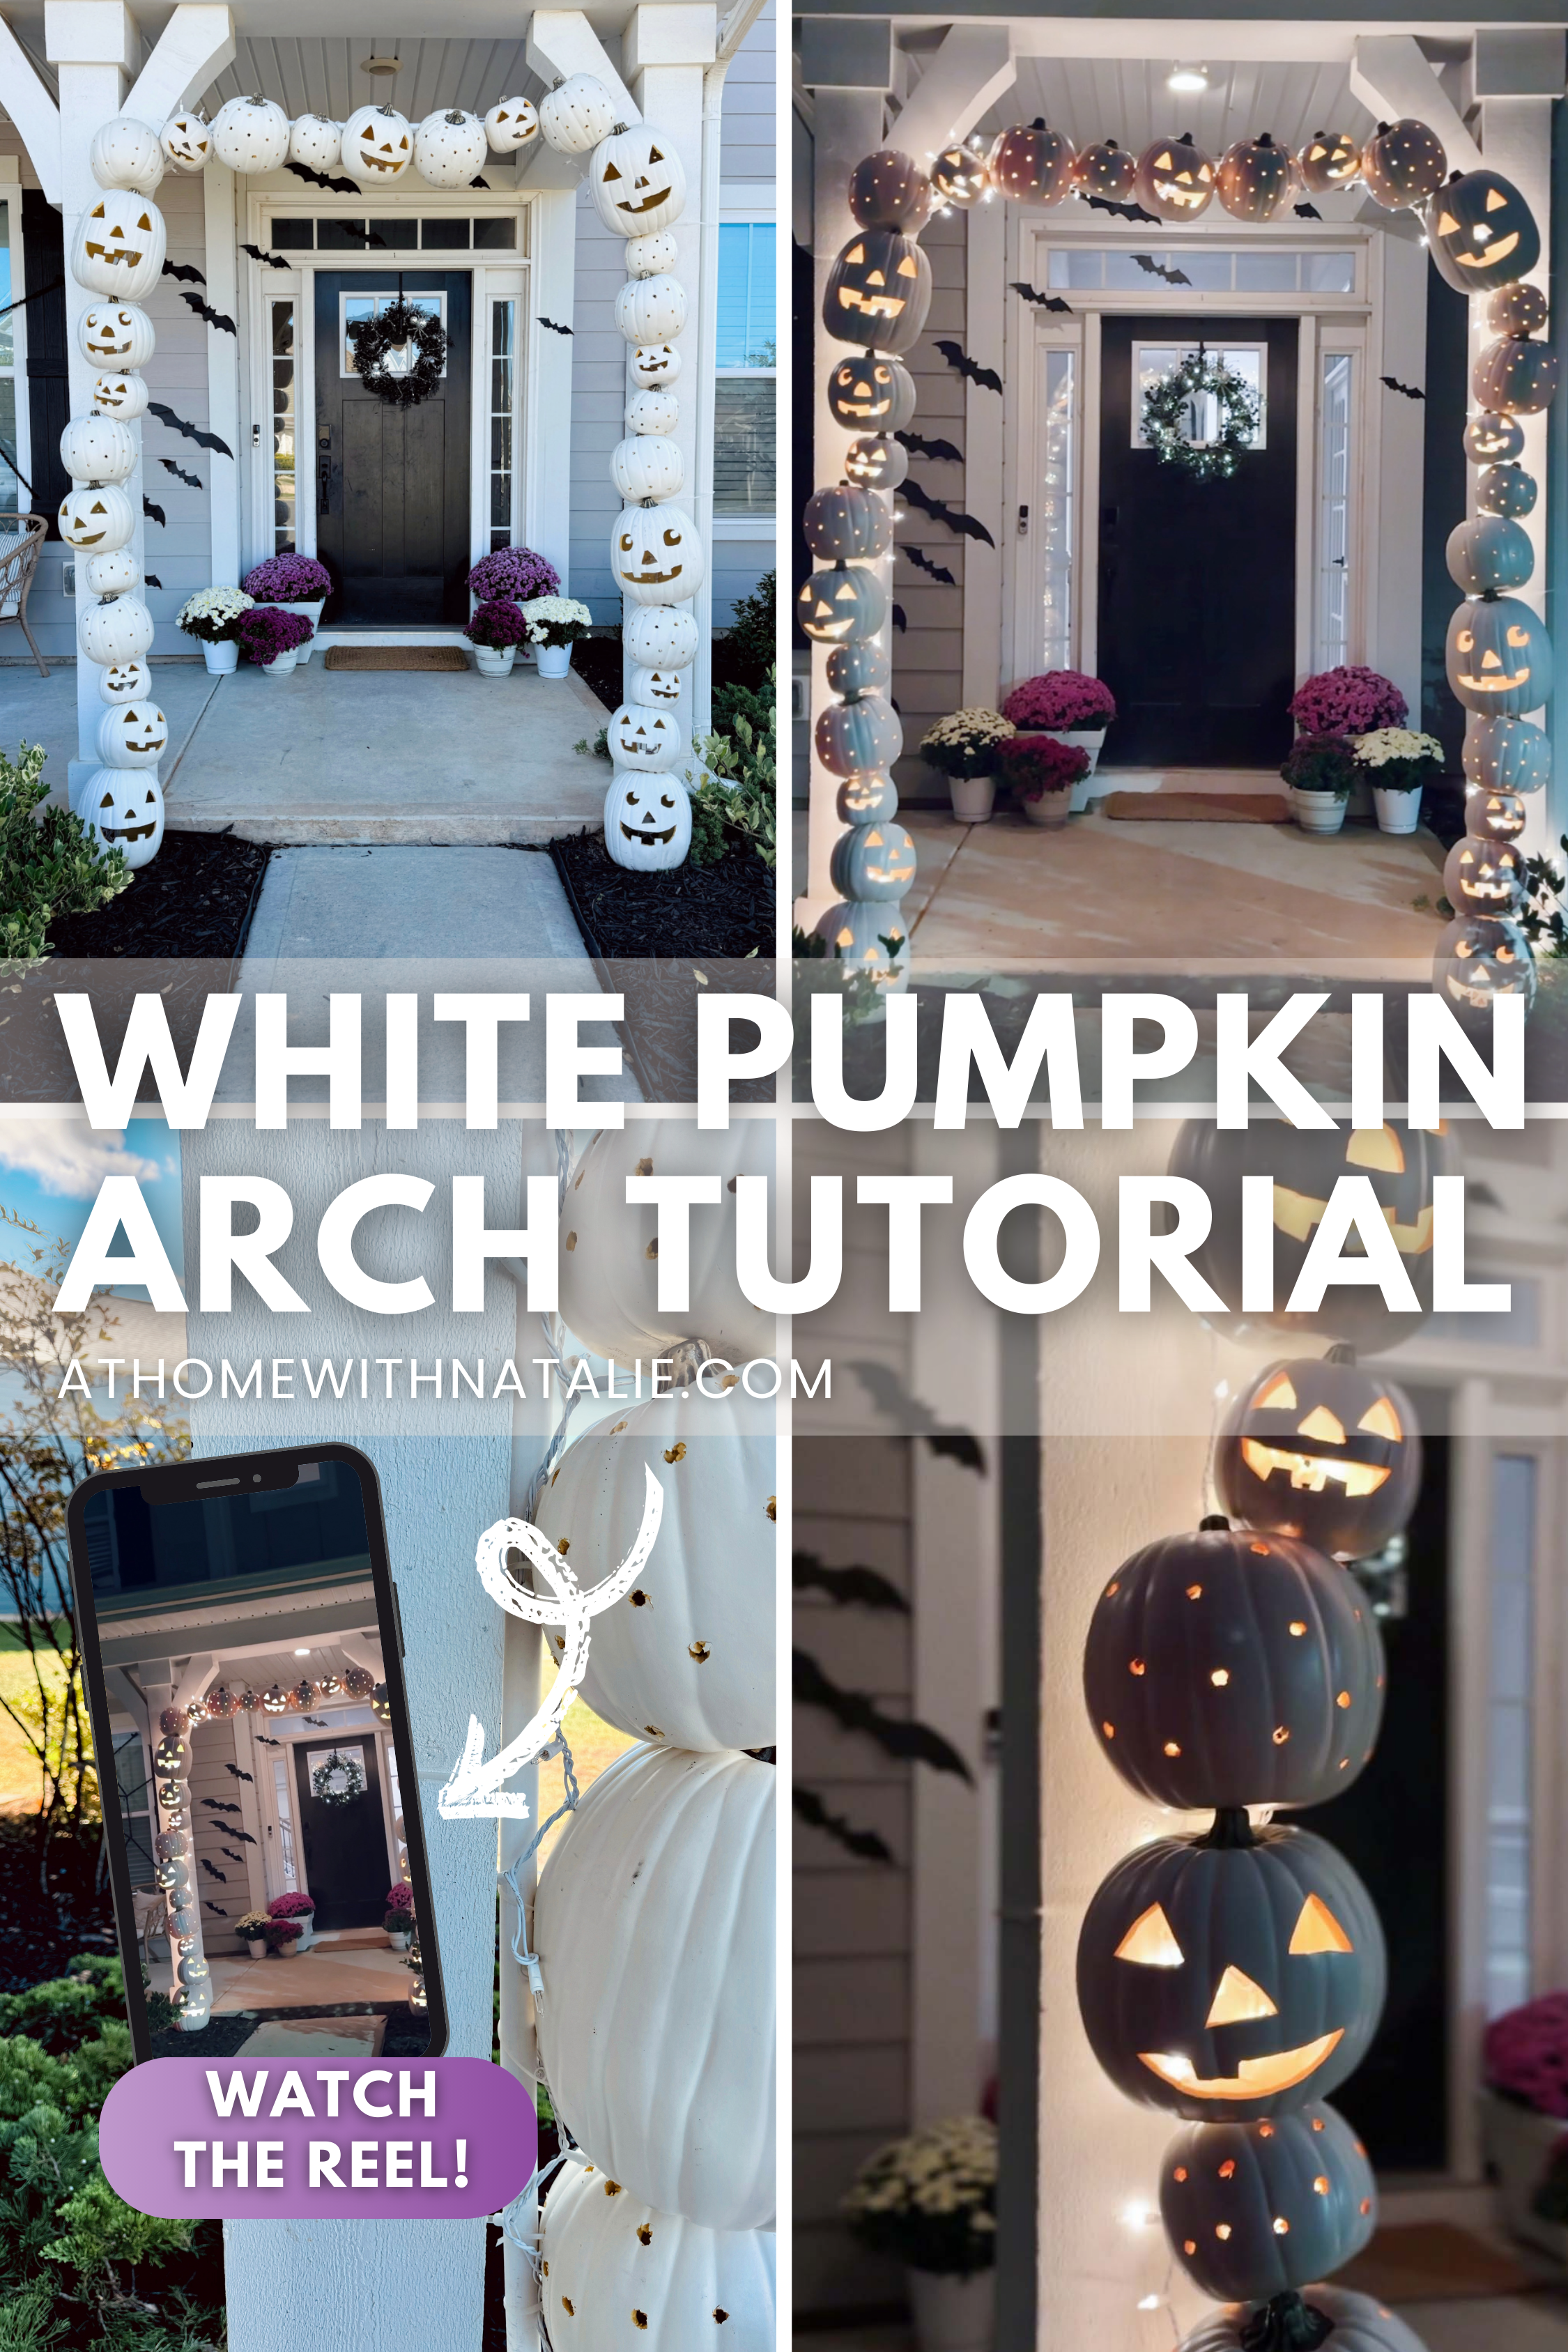
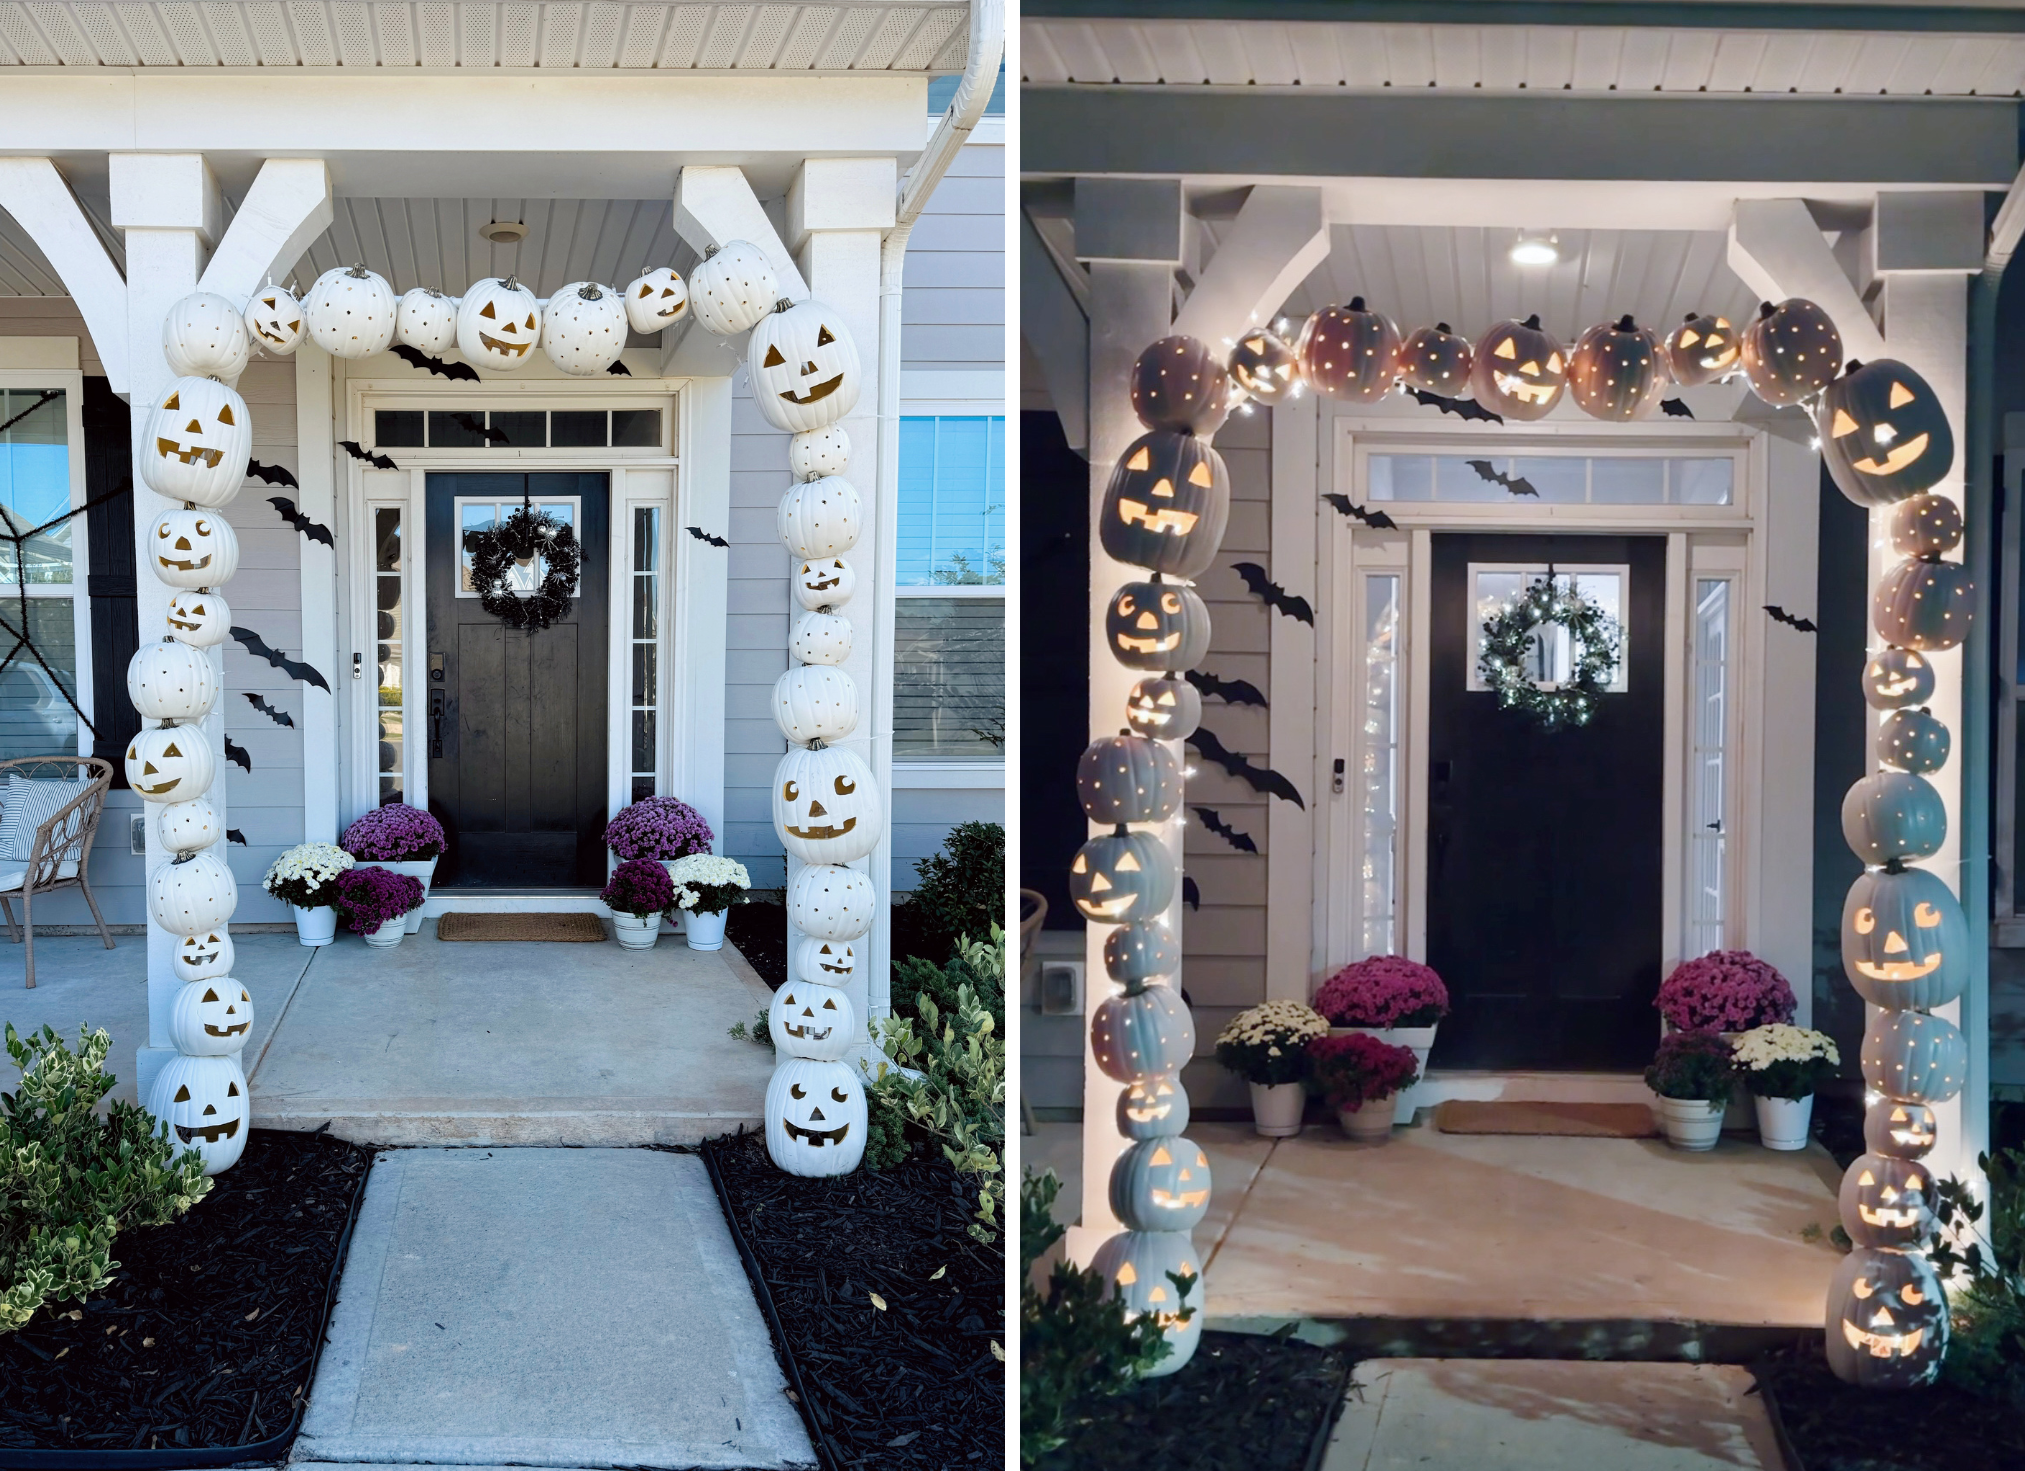
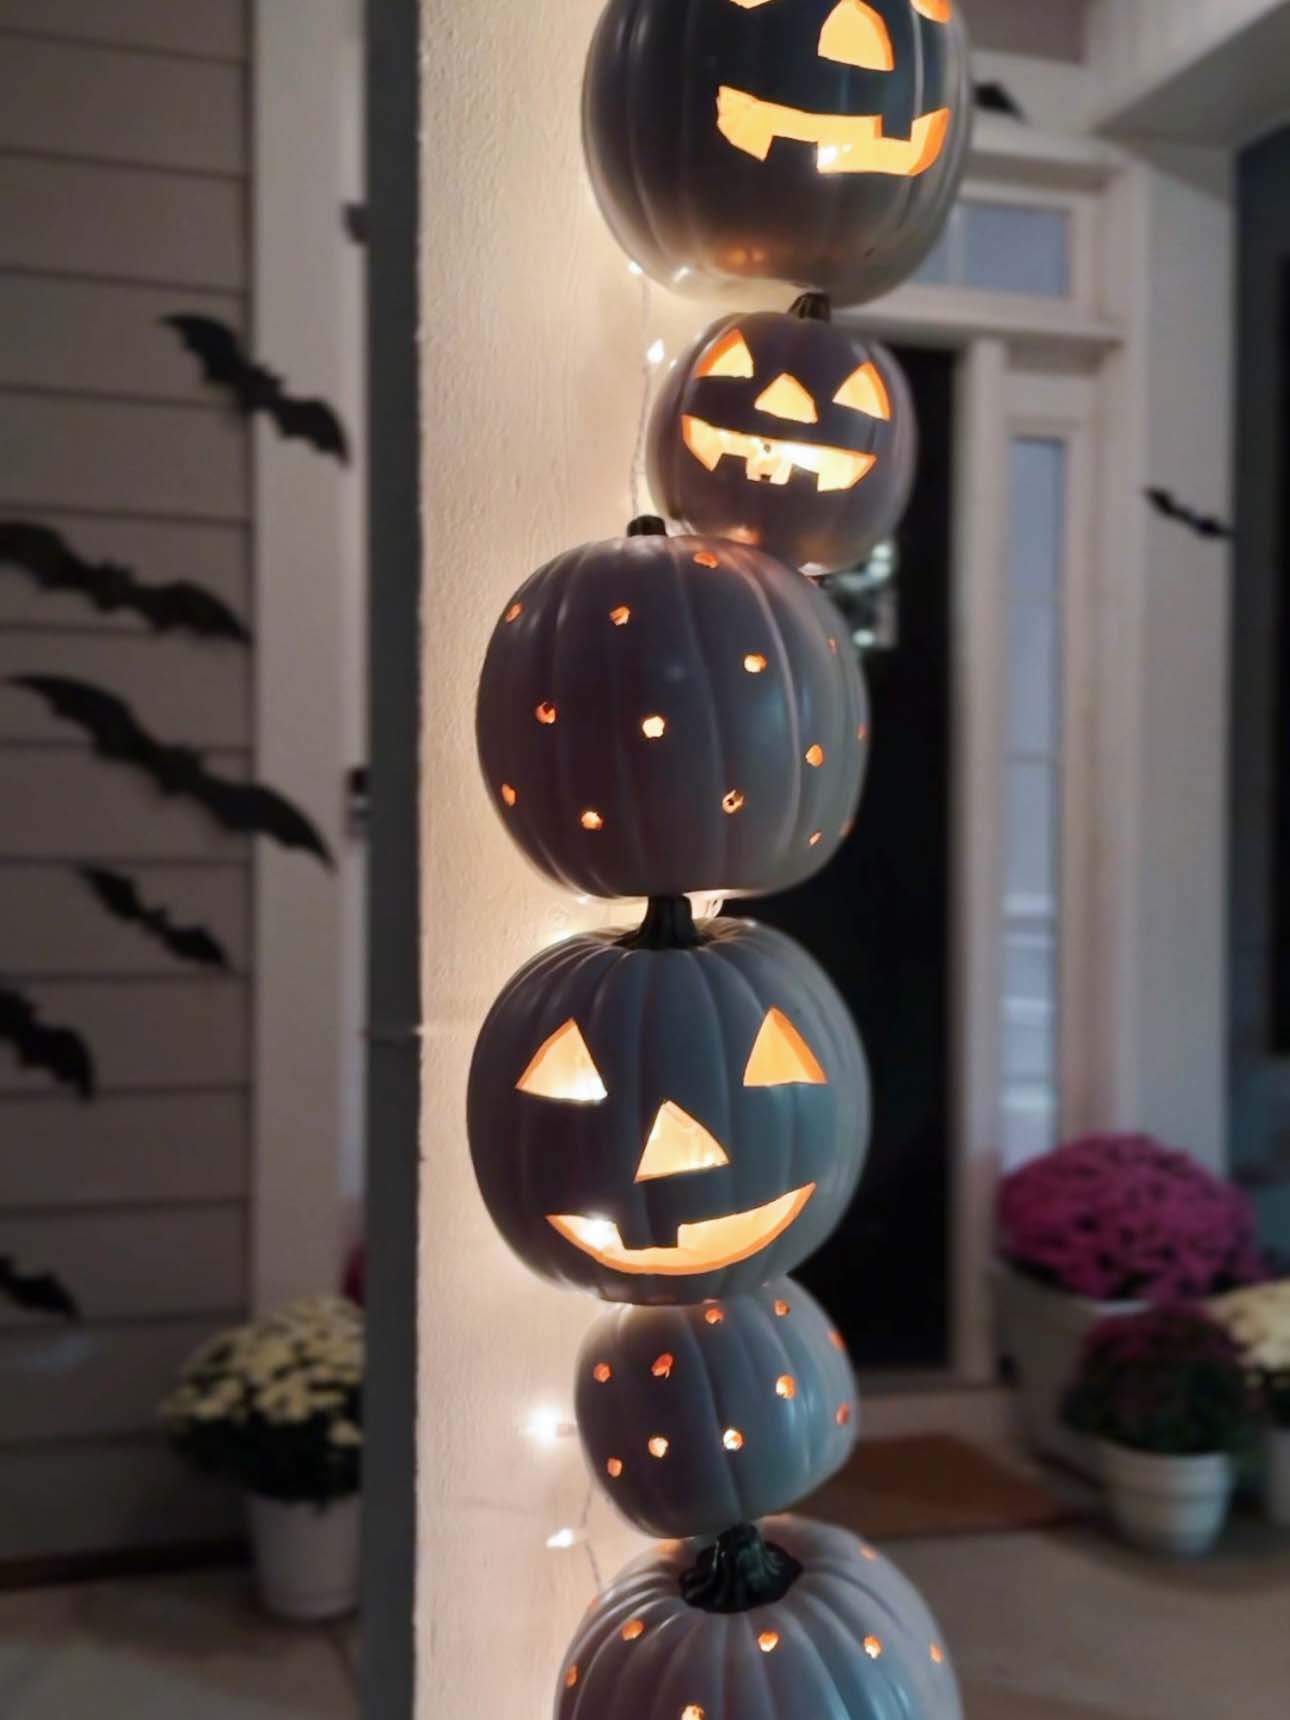
I went with all white craft pumpkins, carved with happy faces and polka dots for our arch. We used clear Christmas lights, with white wires, to add some sparkle to our front porch. I’m obsessed with how it turned out! In today’s post I’m giving you the run down on how I made it. You can do this too and bring some Halloween fun to your home!
Watch our PUMPKIN ARCH REEL ON INSTAGRAM
SUPPLIES:
White Craft Pumpkins from Michaels. (grab them on sale!)
White Zip Ties.
3/4 PVC Pipes to fit your archway.
Four 3/4 PVC Pipe connector pieces.
Clear Mini Christmas Lights with white wire. (I used 3 boxes from Hobby Lobby – love their sales.)
PUMPKINS:
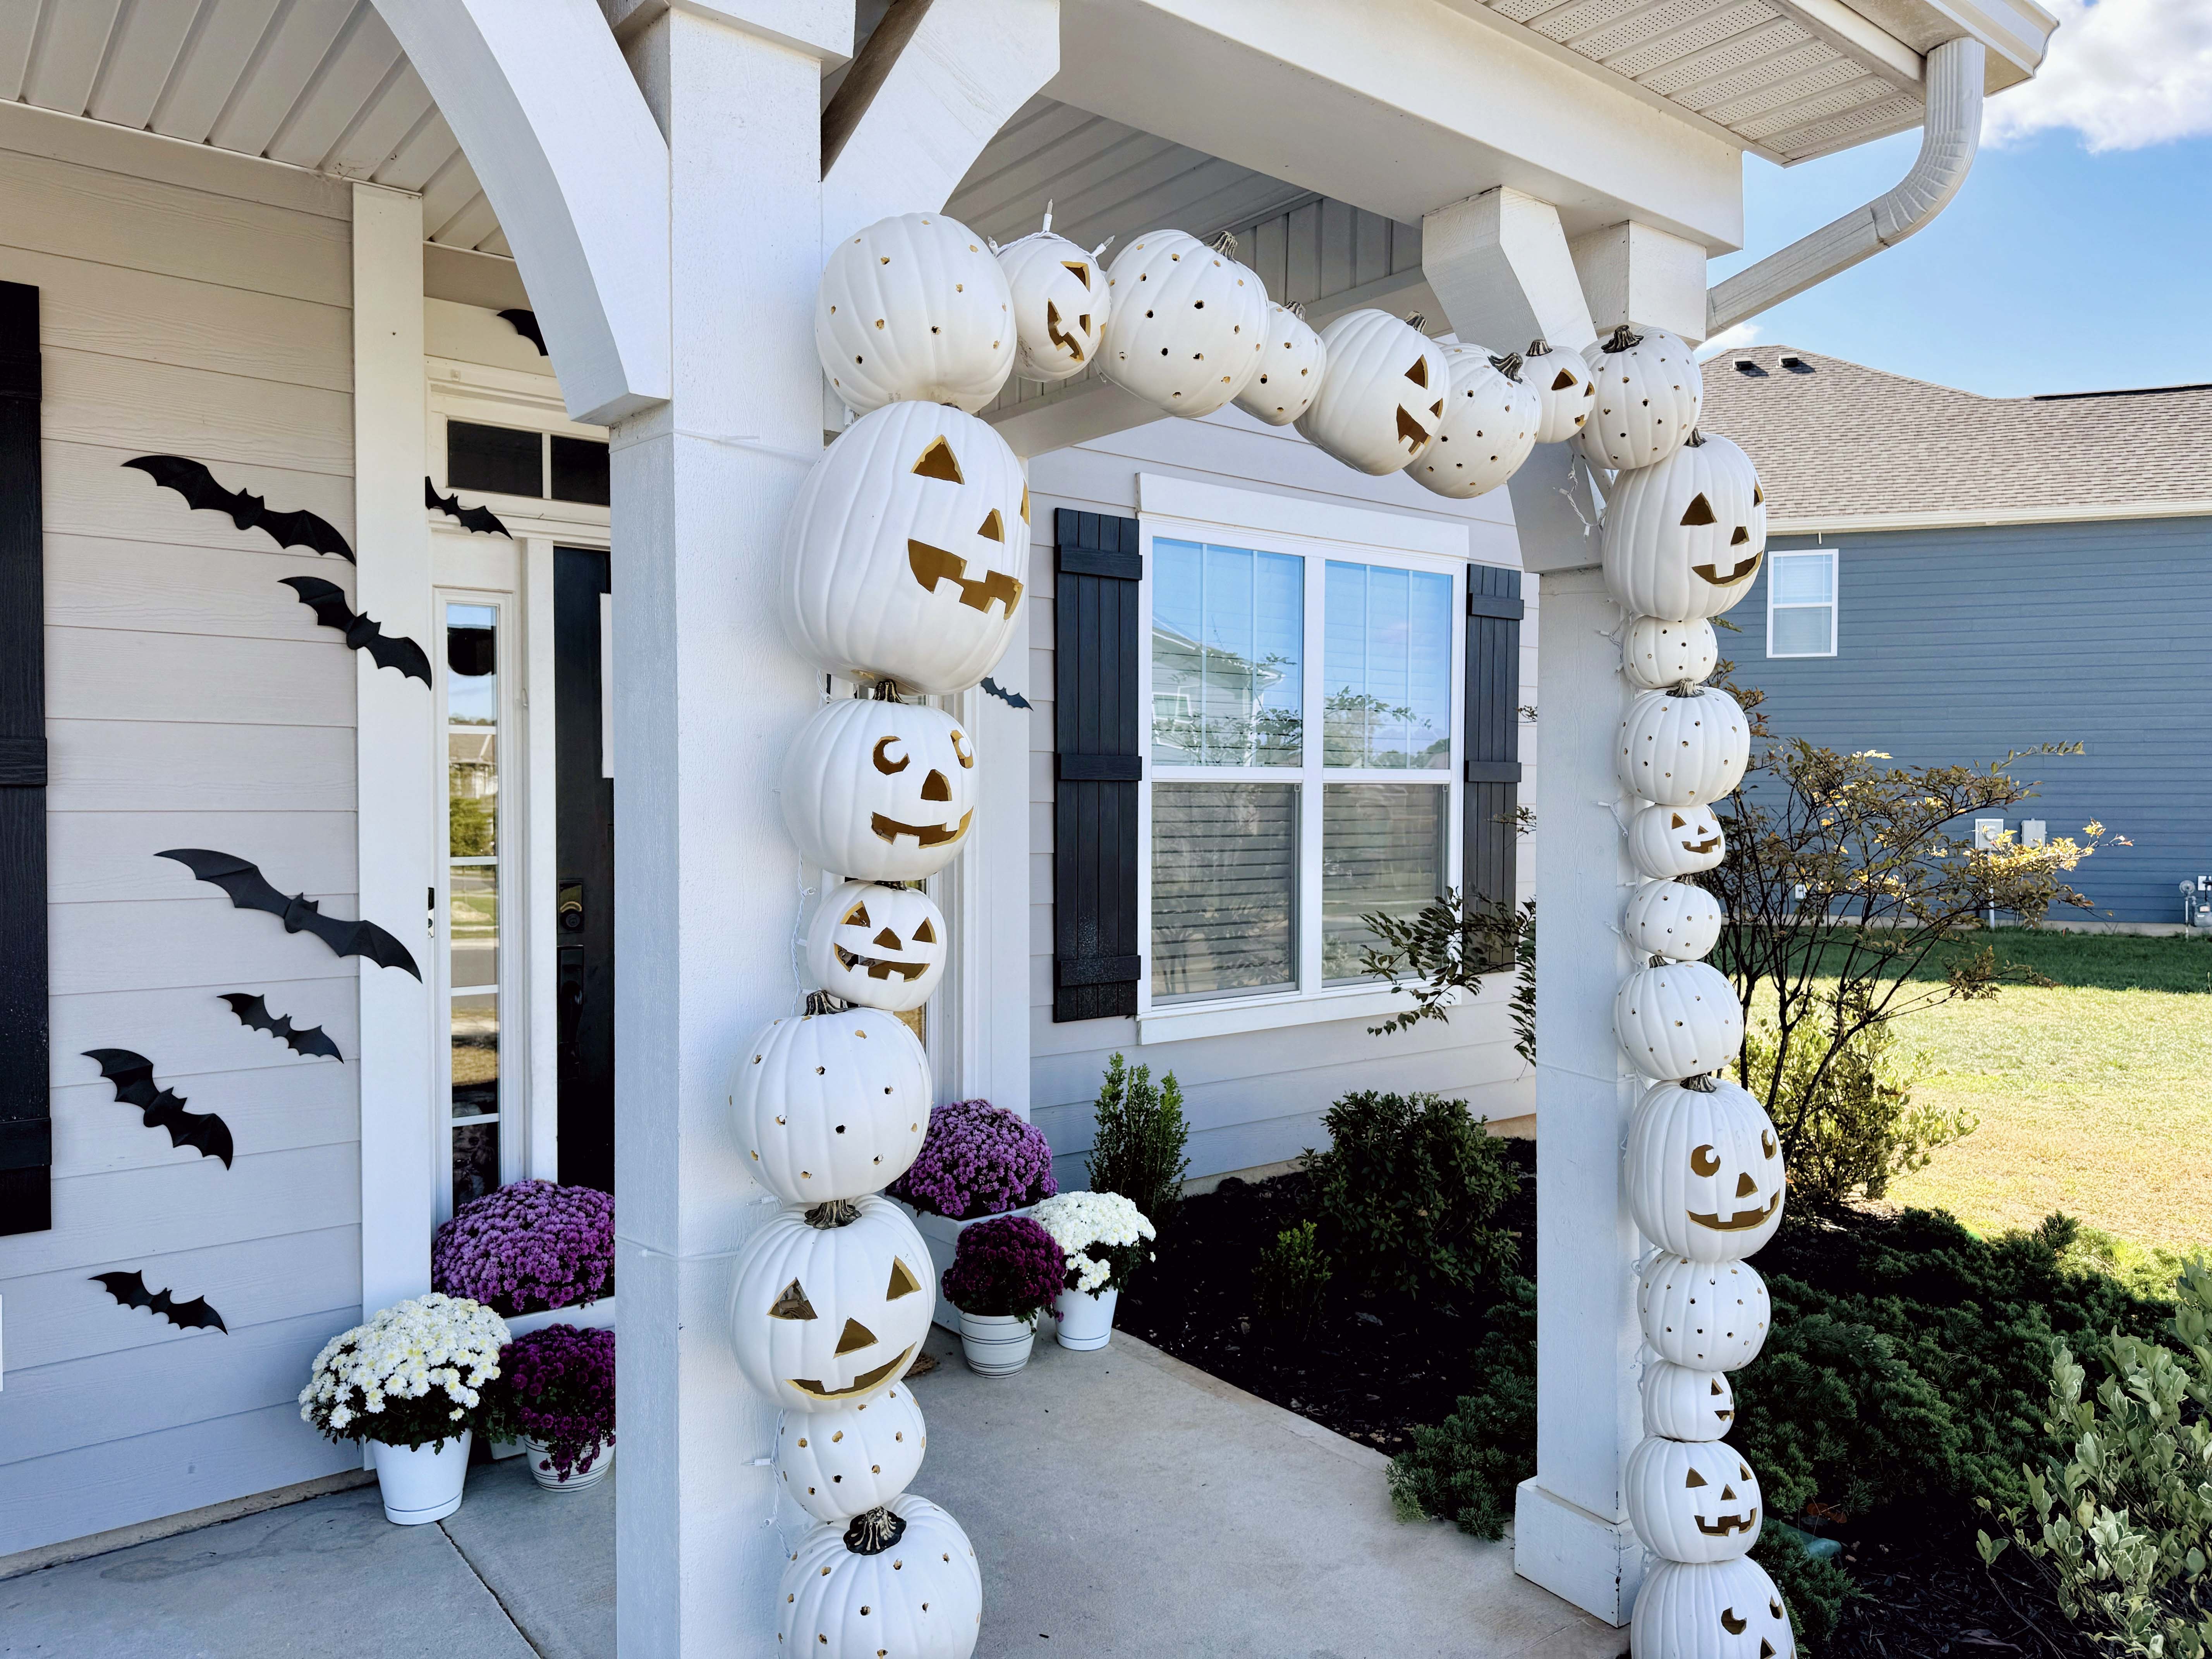
OK. So the pumpkin arch is EVERYWHERE. But I’m just not a fan of orange and we never get too scary with Halloween decor. I knew I wanted white pumpkins but I DID NOT have time to spray paint any. I LOVE the white craft pumpkins at Michaels. These go on sale too so you can get them discounted. They also hold up really well and carve like a dream. I did a mix of the large, medium and small sizes. You could make it easy and do one size…it’s up to you!
I used a knife to carve the faces…and then my drill to do the polka dot ones. Then I used a knife to cut a little square hole in the back of each pumpkin. I also made sure there was a couple polka dots or holes on all the pumpkins in the back so that I could zip tie and attach to the arch. The carving process is messy – but clean up is way easier than carving real pumpkins haha. (I enjoyed this part of the project the most! It was fun.)
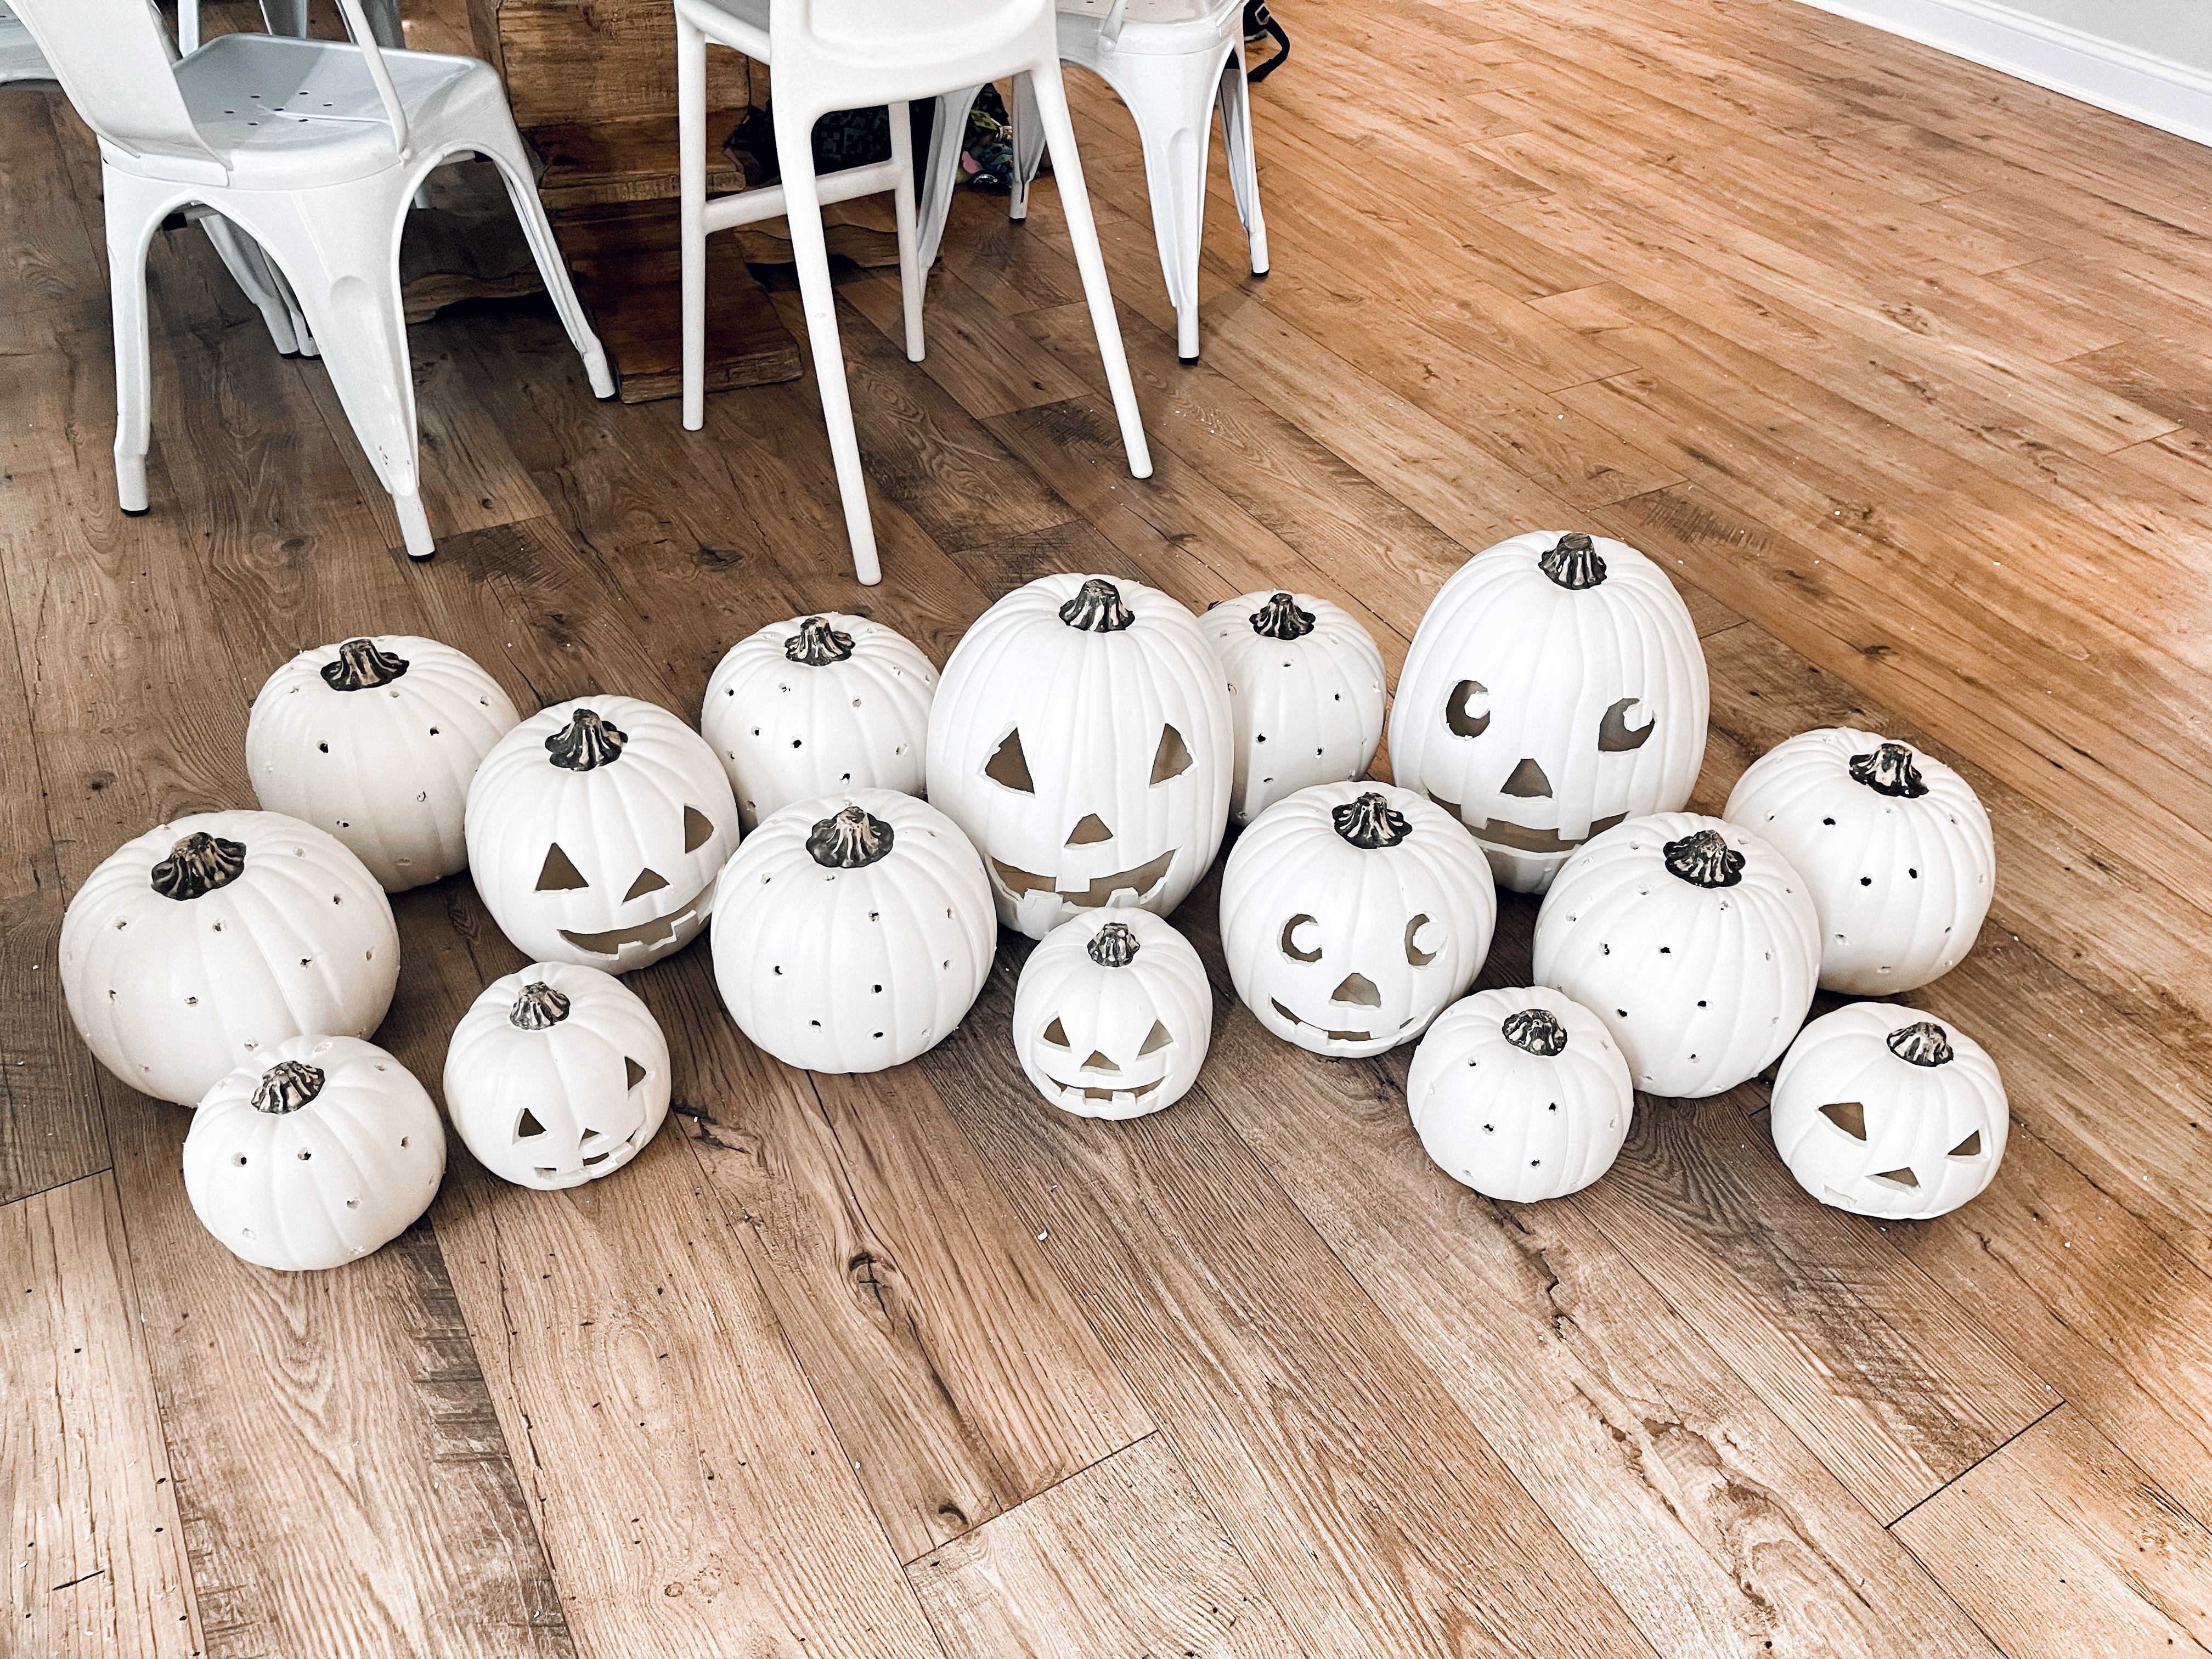
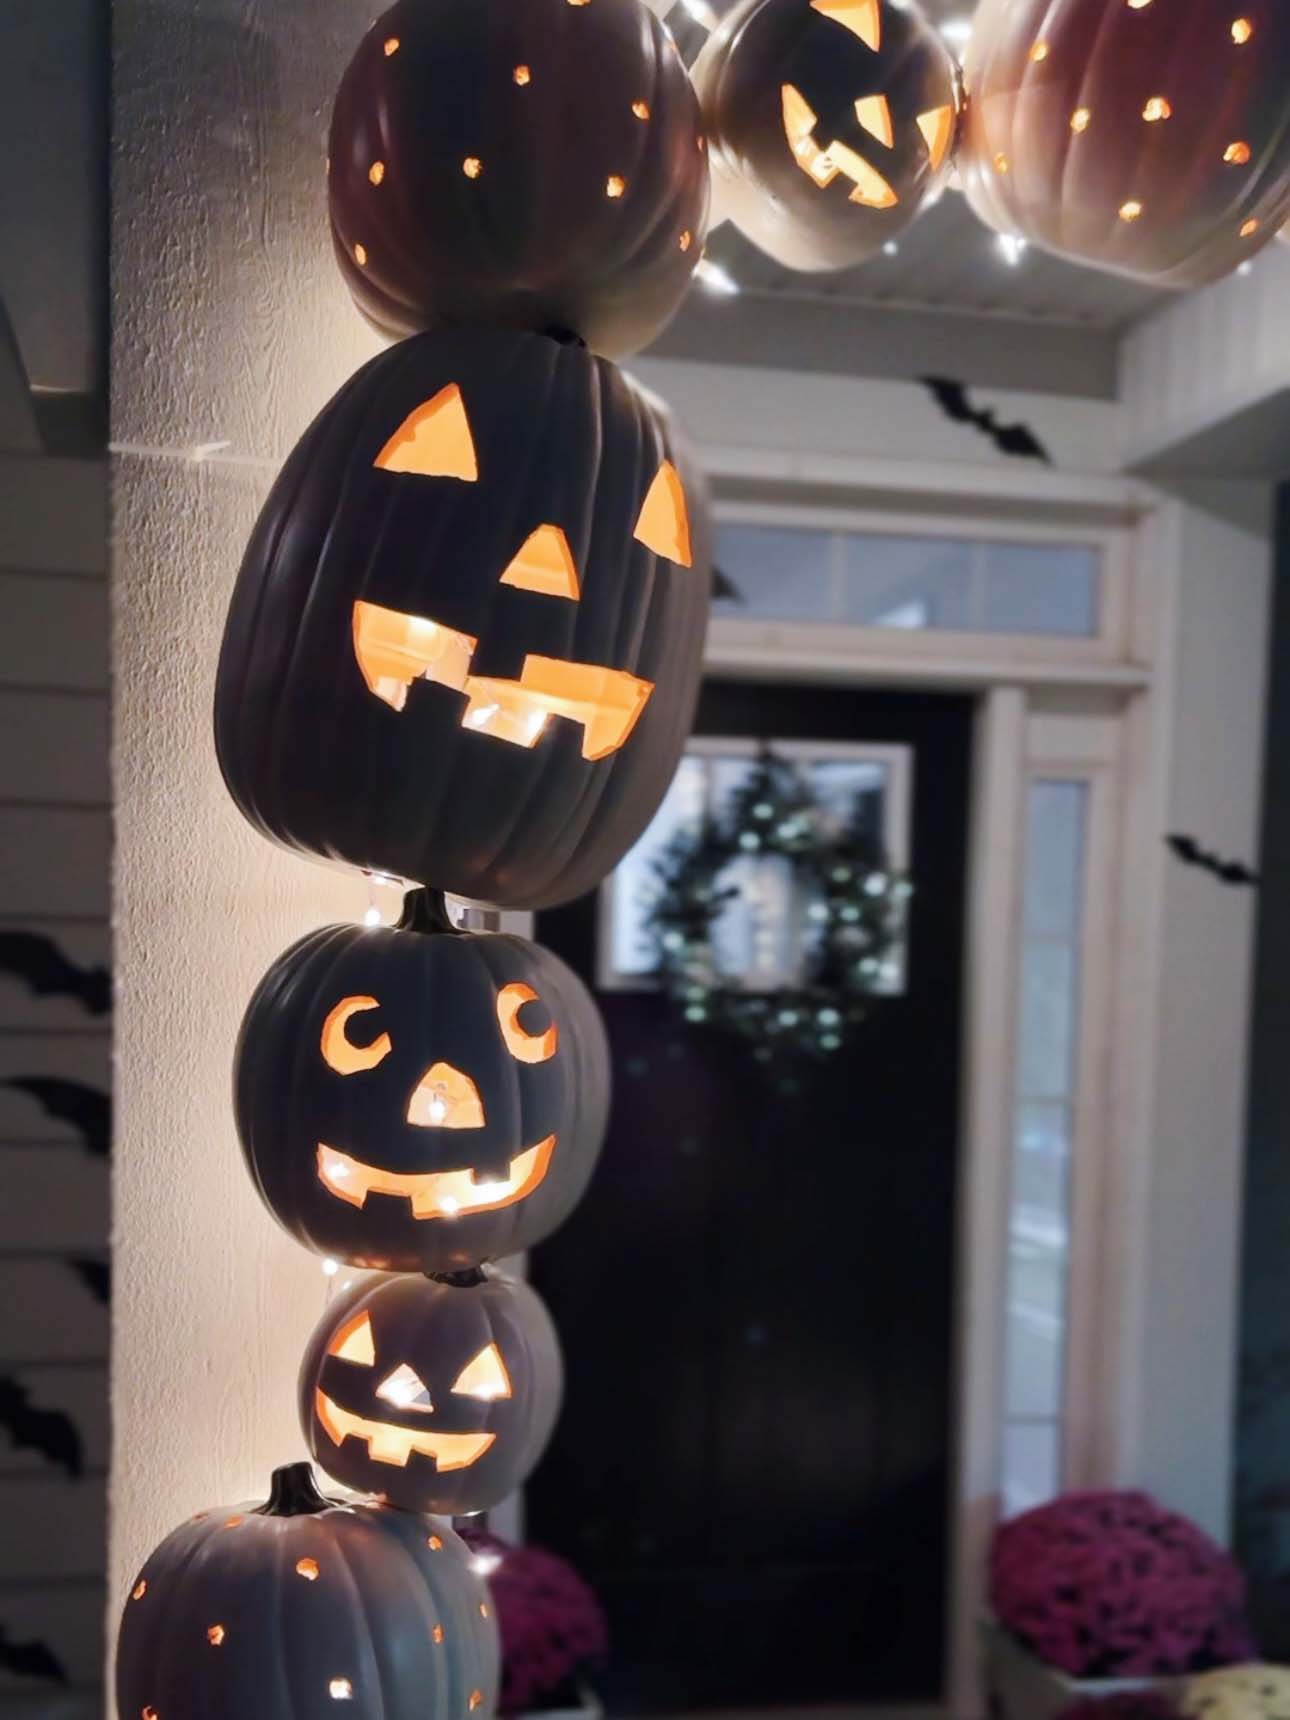
Look how fun they look lit up! You could do all faces or all polka dots- it’s up to you! I liked the mix and the kids all picked their favorite faces. :)
ARCH:
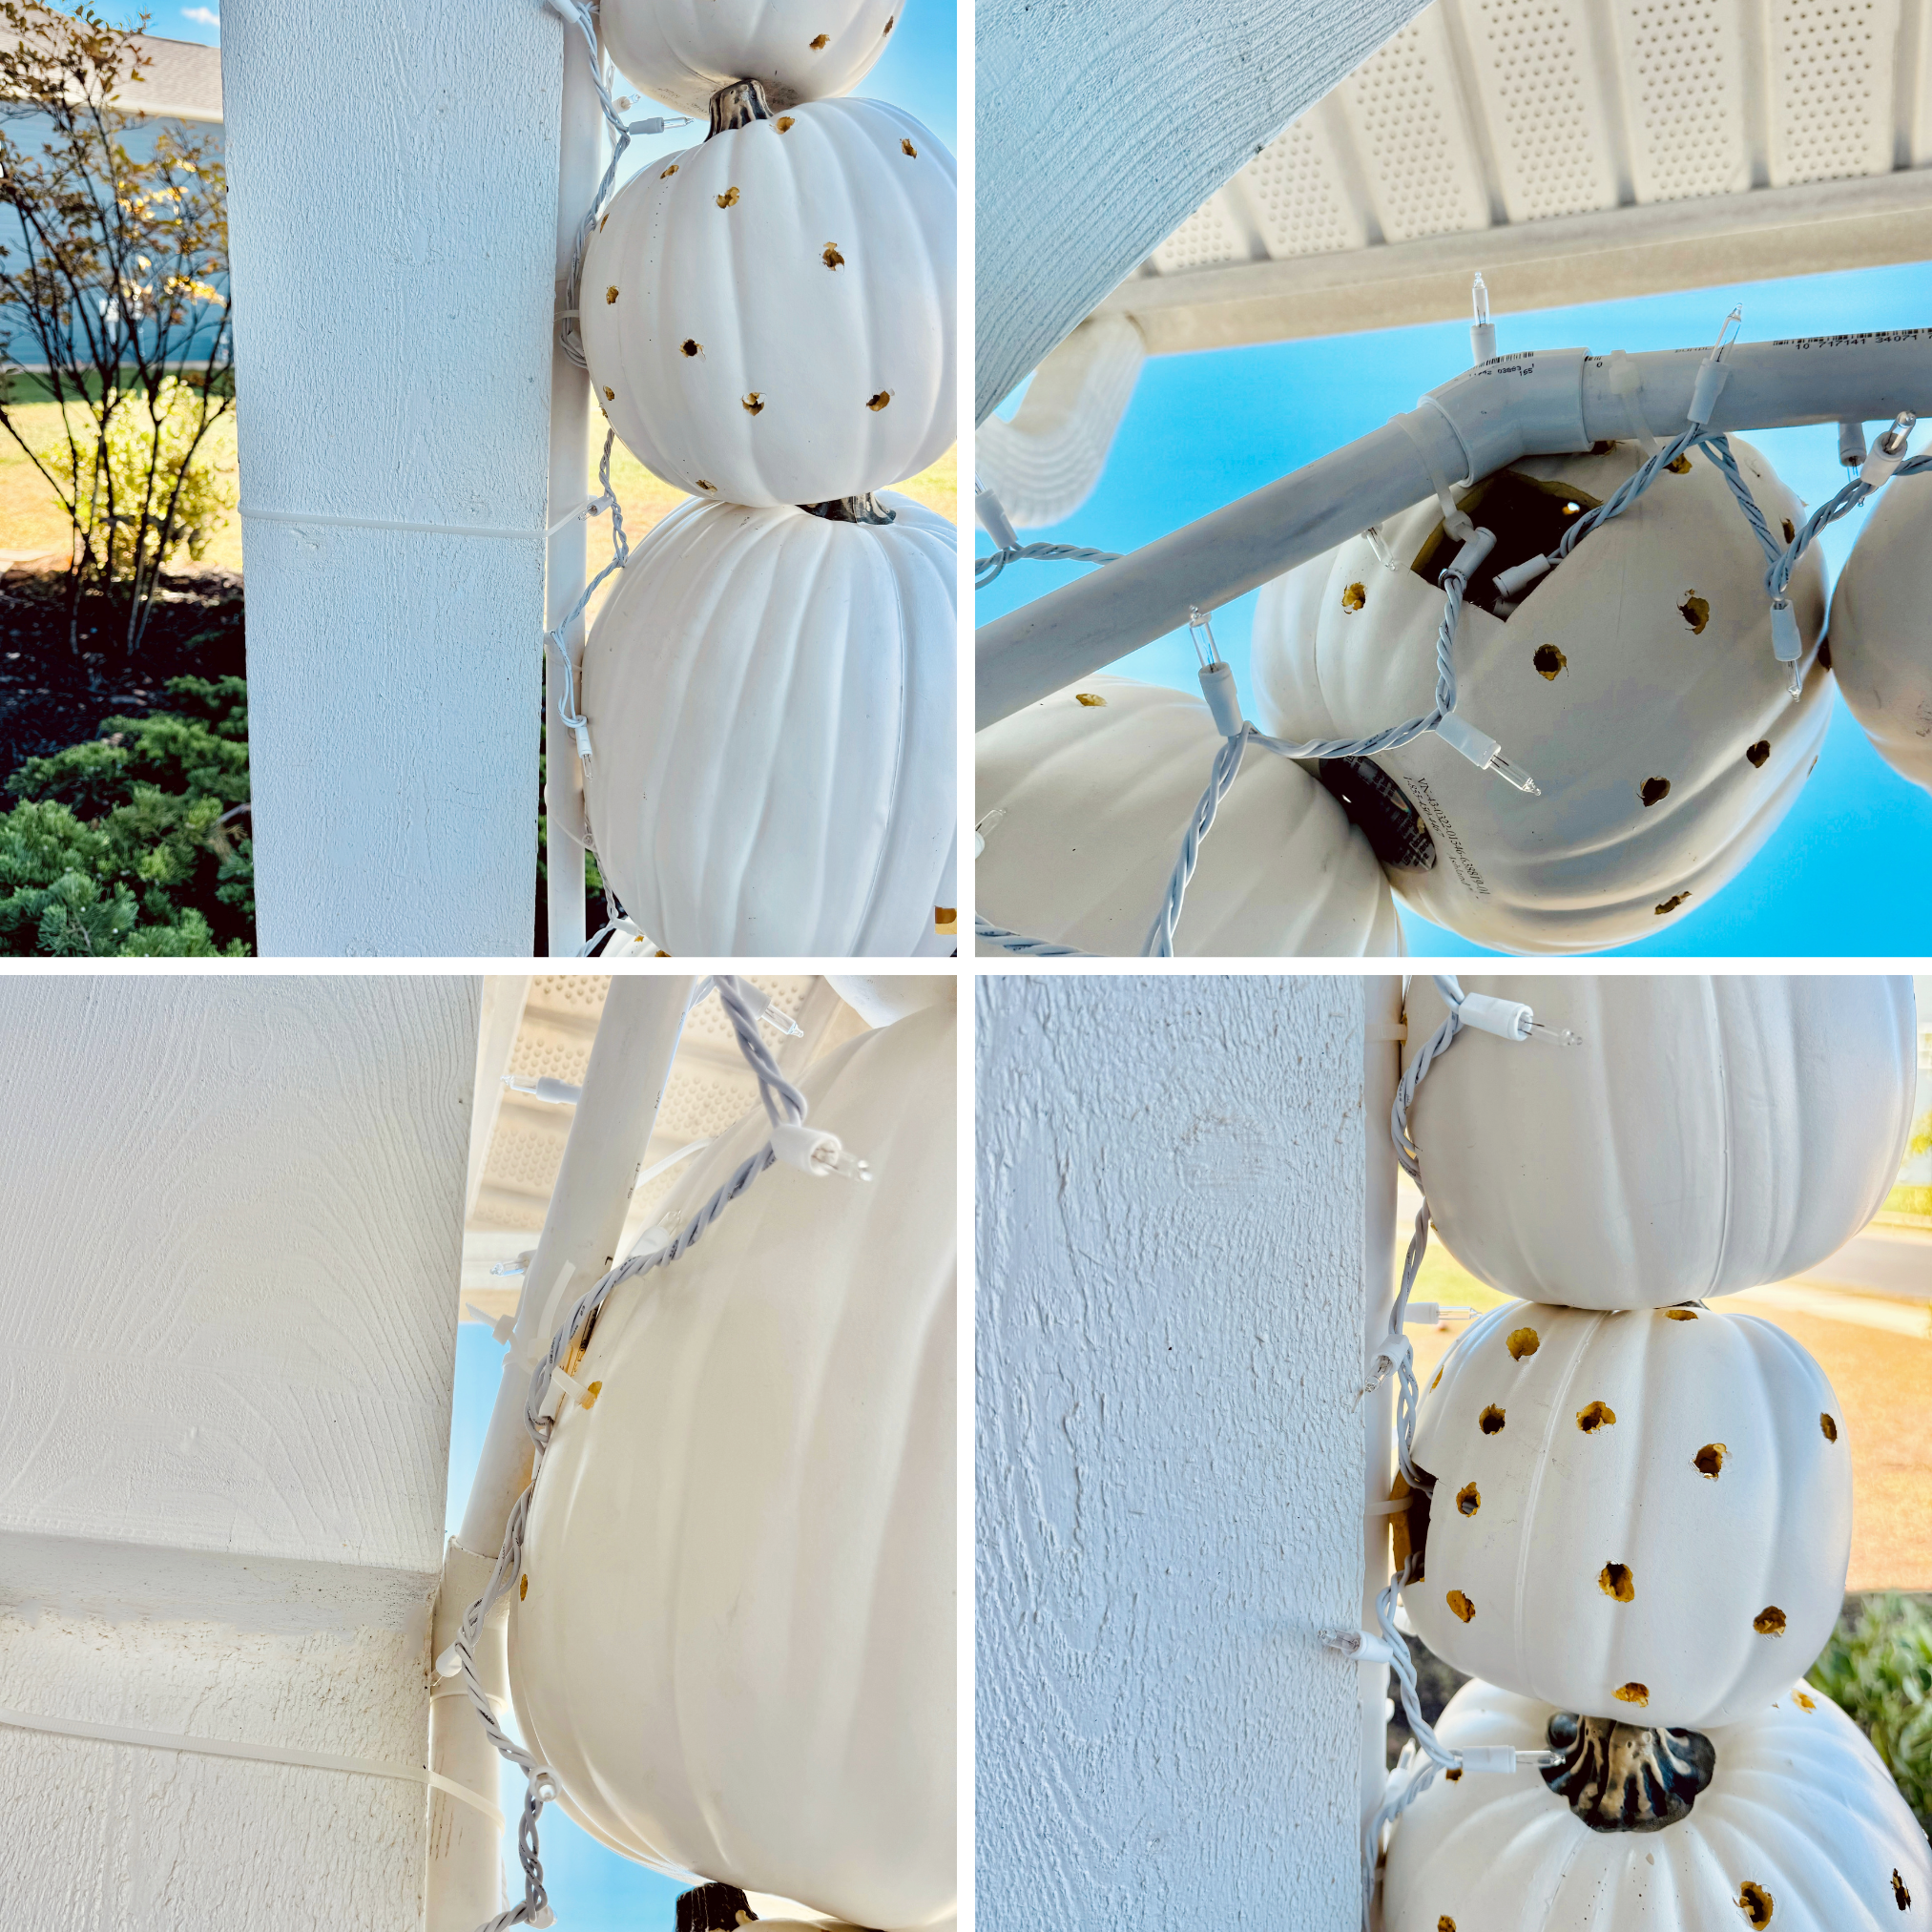
I updated my arch frame last year with PVC Pipes. You can use something else just the main idea is that you want something small, attached to the pillars with zip ties, that you can then zip tie your pumpkins to.
My arch was made using 3/4 PVC Pipes. Measure your space to know how many poles to get. We cut them at home to fit but if you know your measurements they can cut at the store for you. We then used four 3/4 PVC Pipe connectors to make our arch at the top.
LIGHTS:
I prefer the look of clear Christmas lights. (They aren’t too cool or too warm. They’re just right!) I got my lights at Hobby Lobby when they had a sale on them. I got 3-4 boxes. (I can’t remember so there you go mom brain.) But you can also grab lights at Walmart or Target in the Christmas section because we all know that area is set up already haha.
You just string them up the back of the pole and stuff them into the pumpkins as you go.
I love that the arch looks pretty during the day and even prettier at night! It makes such a fun pathway for our trick or treaters.
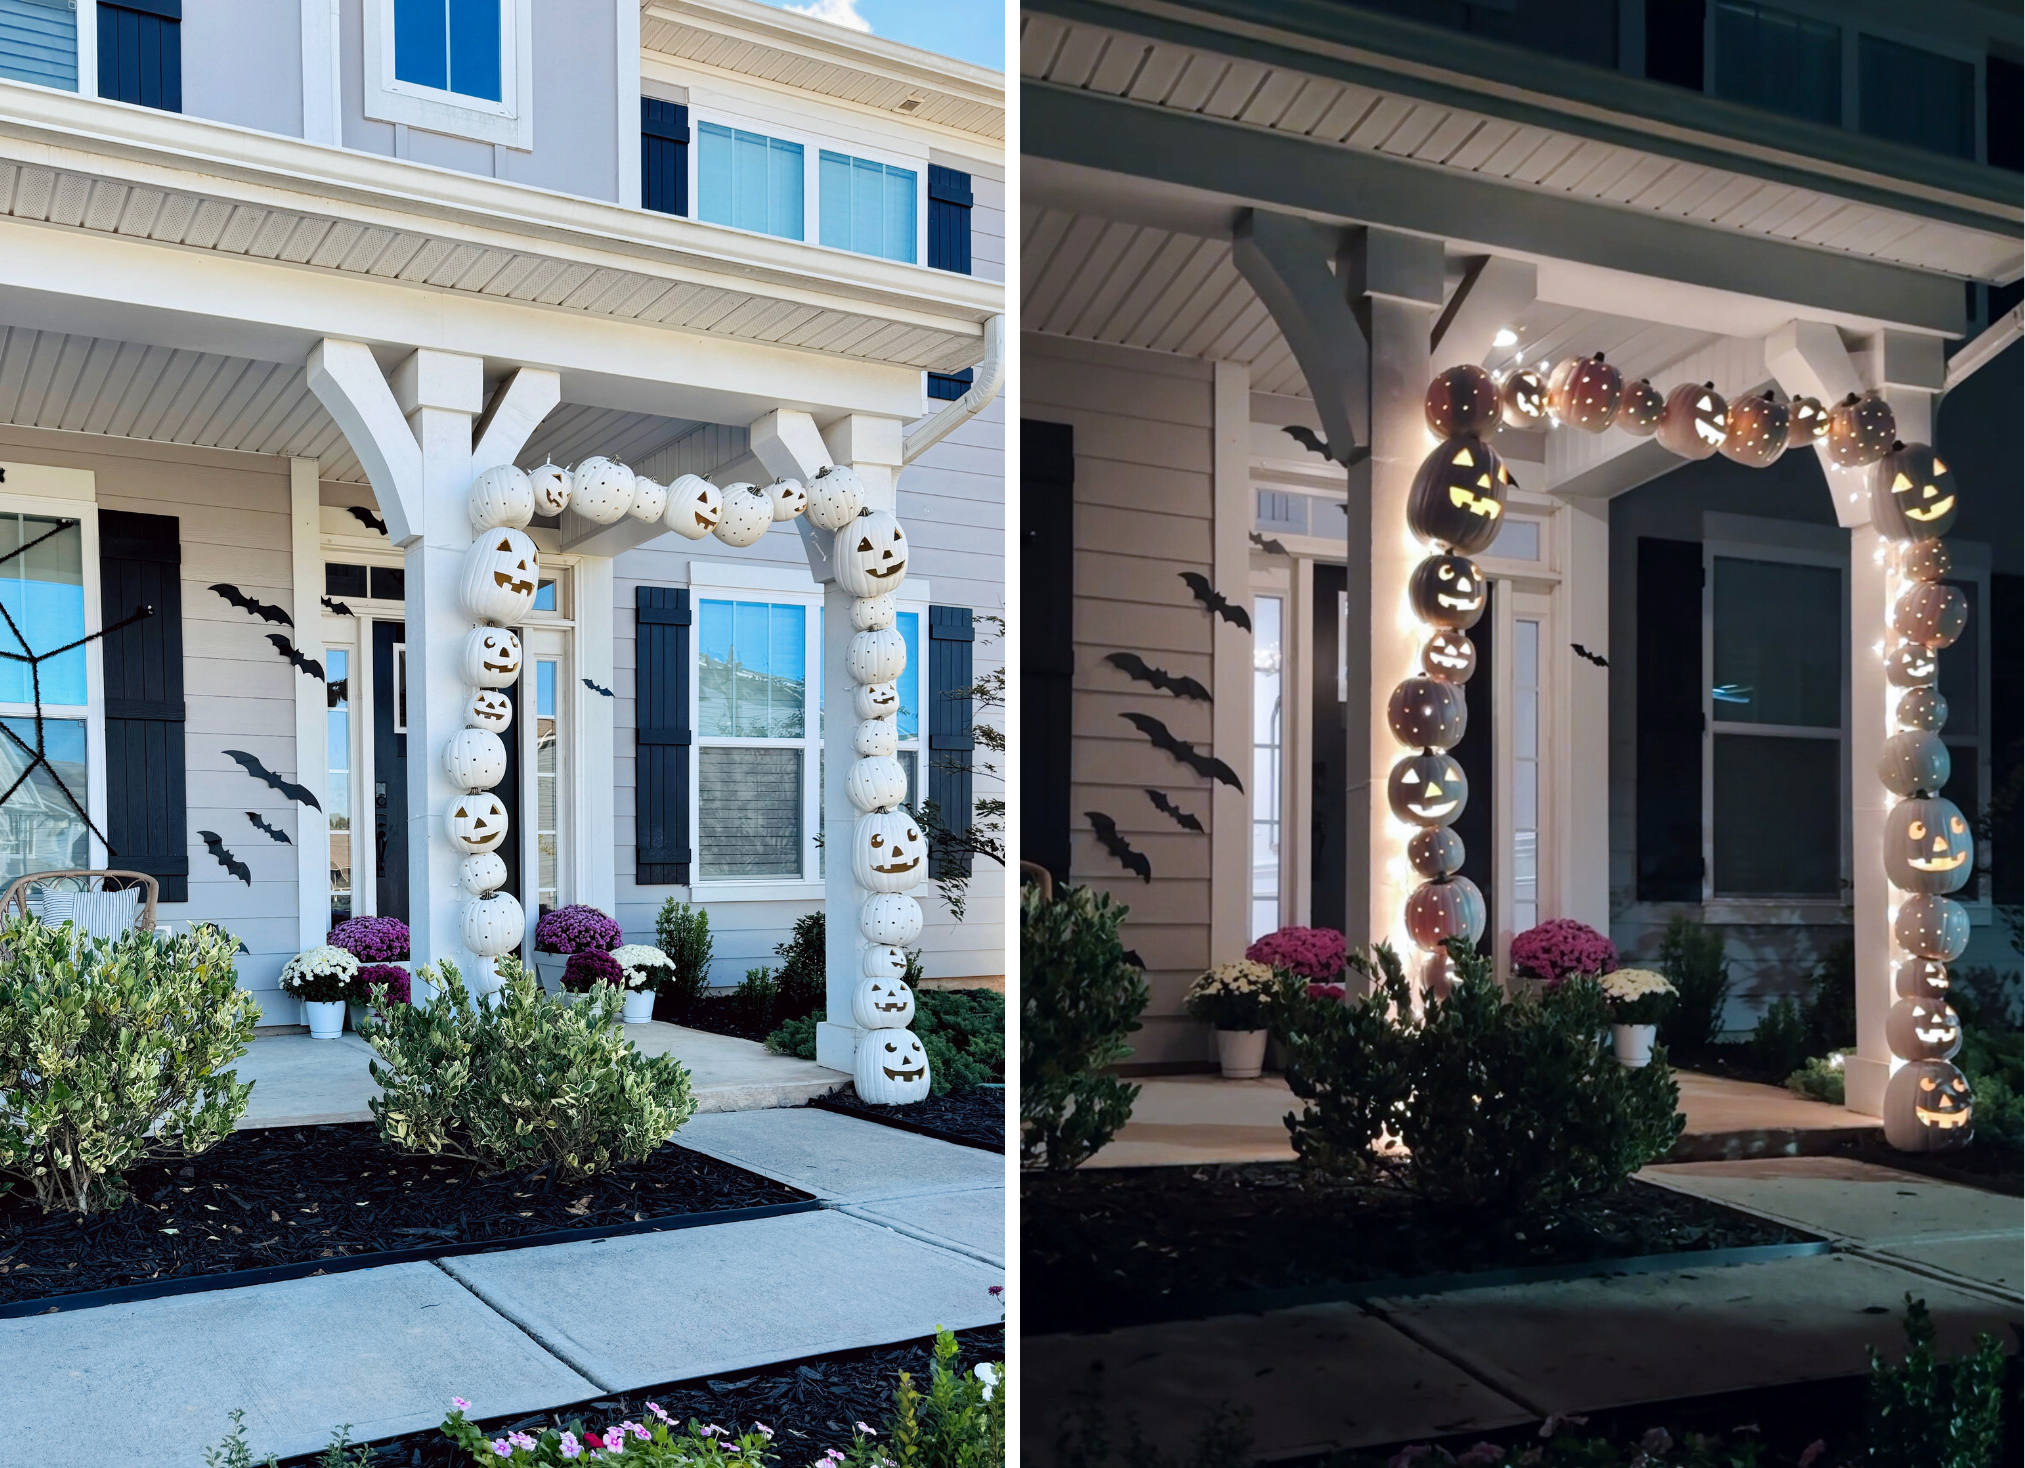
I love the mix of spooky fun faces and the polka dots. Gives it such a whimsical feel! Our porch sparkles at night!
Let me know if you have any questions at all! The kids LOVE IT and that’s what I was going for!
Follow us over on Instagram for more holiday shares! @athomewithnatalie
