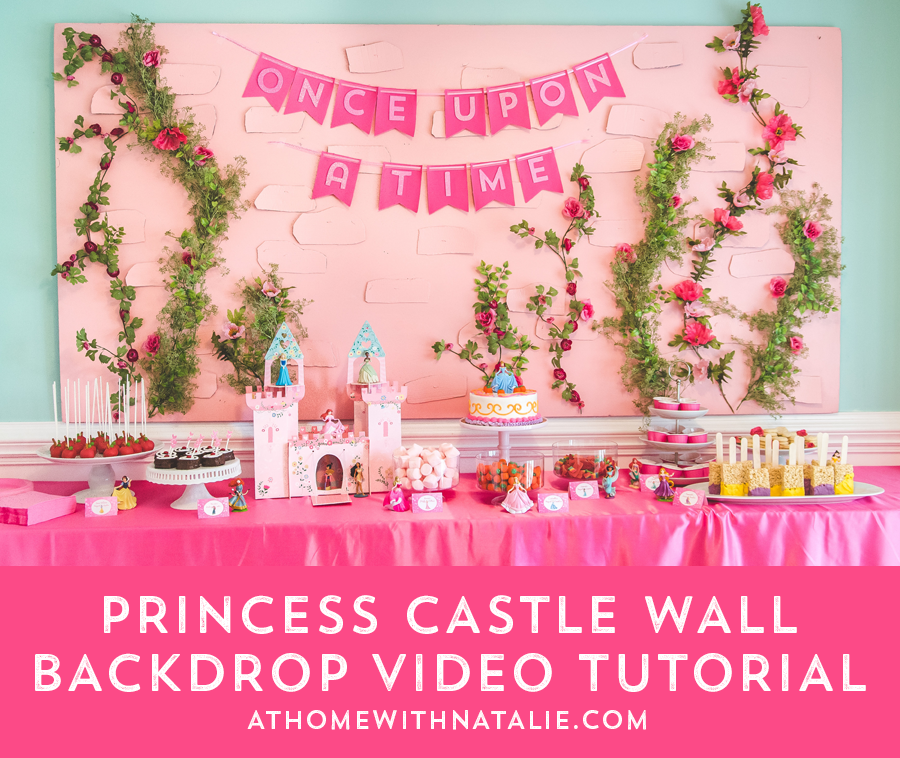
For my Sophia’s Princess + Knight Birthday Party, I created
a fun whimsical backdrop for the dessert table.
I was inspired by my daughter’s drawing of a castle, that we turned into the invite!
I had such a great response via social media that I thought I would share a video
with just how easy and affordable this DIY detail really is!

SUPPLIES:
+ Foam Board (Home Depot Lumber Section)
+Scrap Cardboard with scissors to cut rough stone shapes.
+Floral Pins (Craft Store.)
+Paint (I used leftover paint from a DIY project.)
+Florals (Grab greenery and flowers)
(For the banner: pre cut pennants, pink glitter foam with sticky backside and ribbon.)
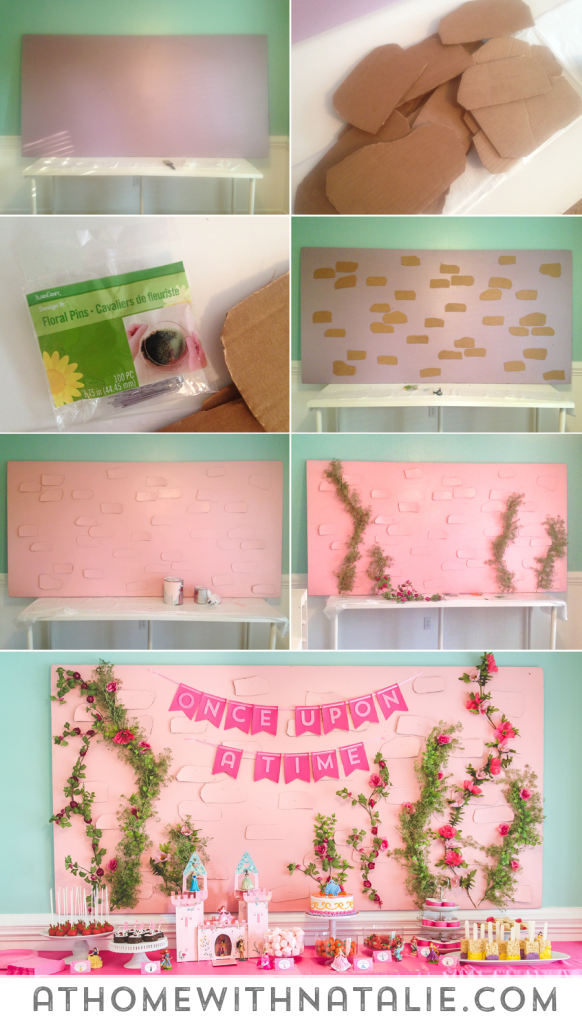
STEPS:
+I wanted the whole foam board..but you could cut with a utility knife to fit your table or space
+ Cut out stone shapes from cardboard
+Attach cardboard stones to foam board with floral pins or glue.
+Paint entire board
+Use floral pins to attach florals to board!
+Hang on wall with nails (we did two on each side.)

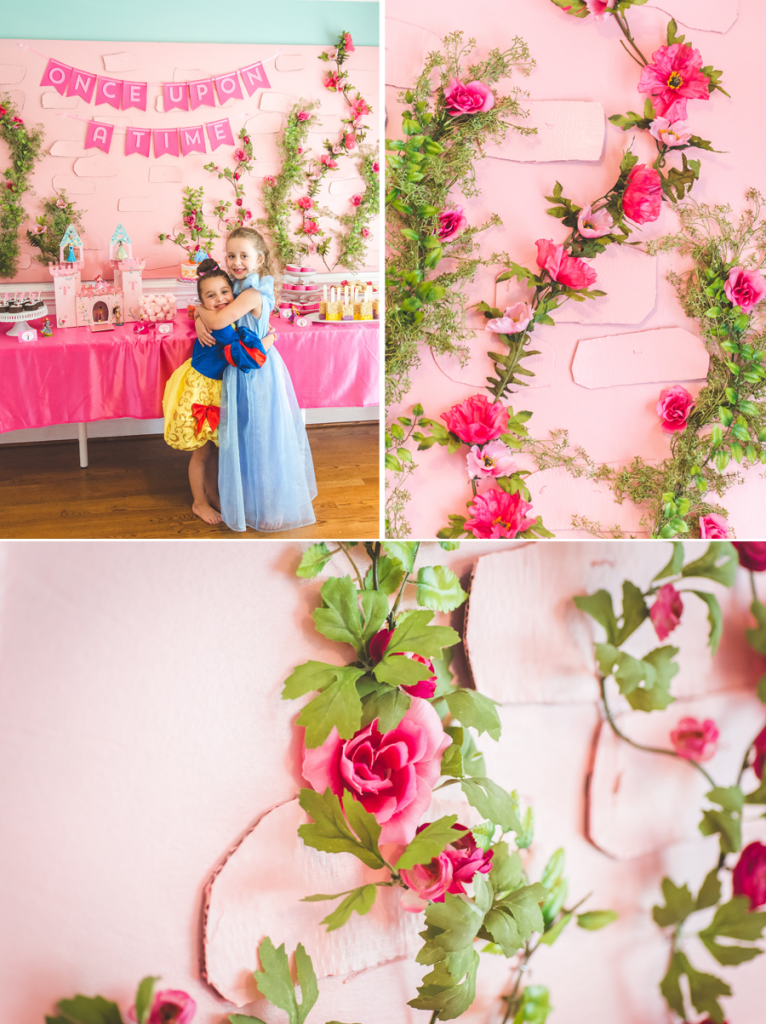
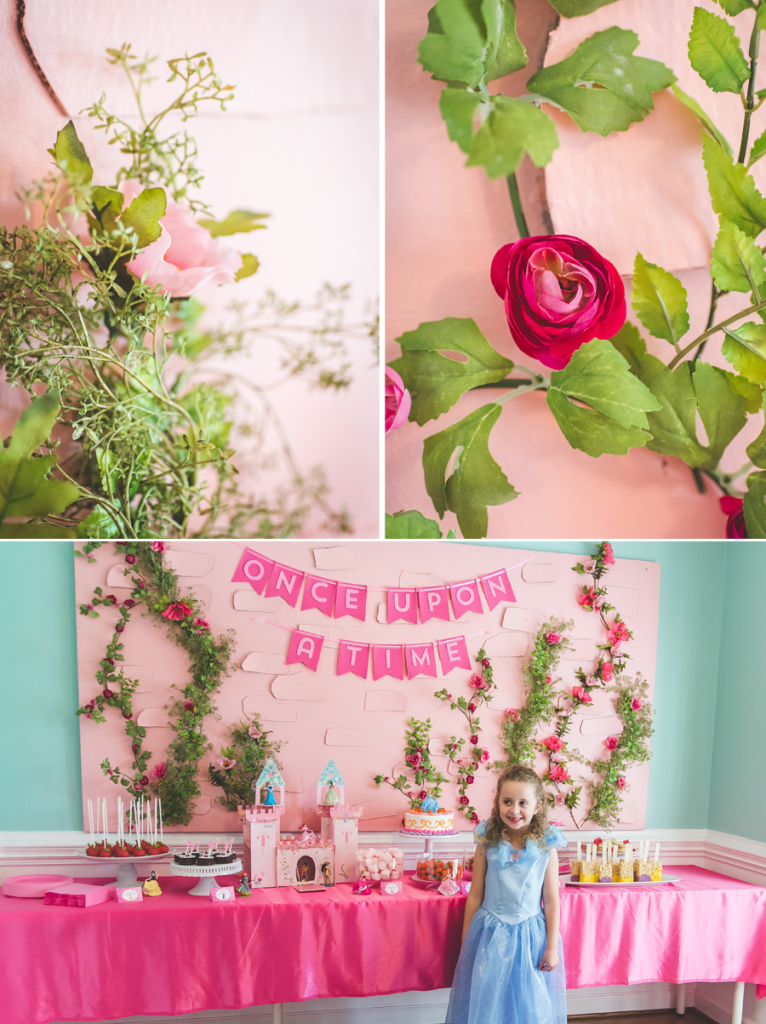
I’m so happy with how the backdrop turned out. We left it up for a few days. ;)
The girls thought it was just the most magical thing ever once it was all set up.
Totally worth the effort seeing the smiles on their faces! It really made the party!

Hope this post gives you some inspiration if you are planning your own Princess party!
Let me know if you end up making one, would love to see yours!

To see more fun details from the party, check out the full party post!
Sophia’s Princess and Knight 7th Birthday Party


heather
September 15, 2015 at 11:03 amThis is fabulous! My daughter Ariel is having a princess and prince themed party!