My kids love pretend play and we’ve always had some sort of play kitchen area set up.
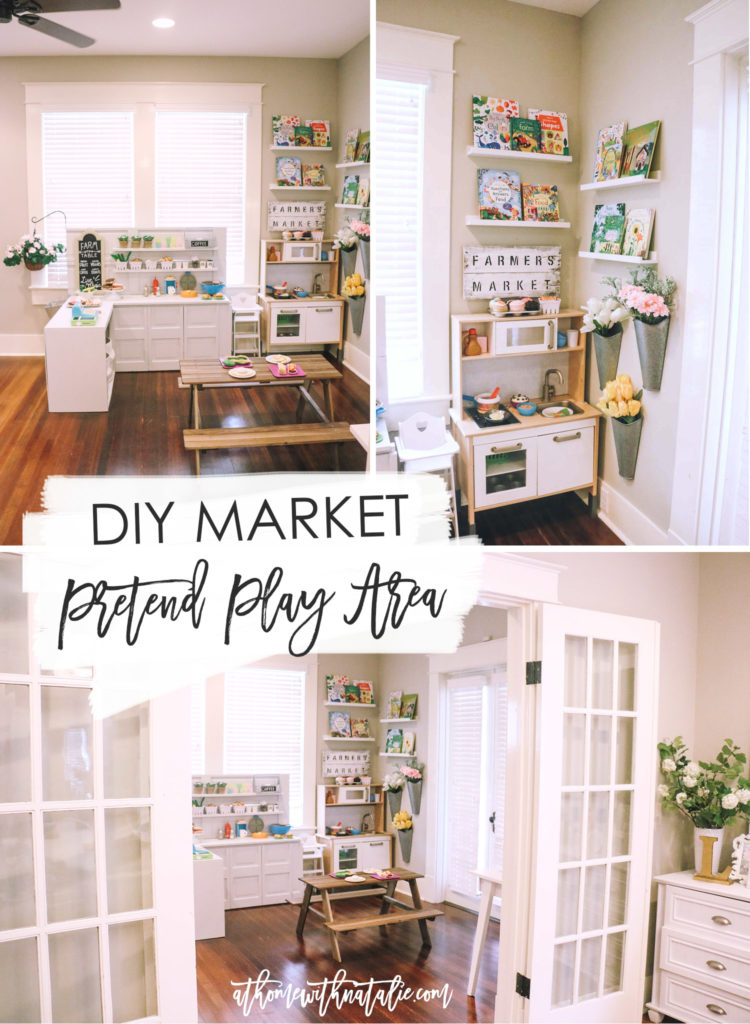
I knew that I wanted to make a designated pretend play space in our house and have
it large enough for all four kids to play together! I watched how they were playing to figure out the best set up.
I saw they liked to line stuff up and needed space for cooking and but also a space for checking out customers!
So I sketched up an idea, and asked my awesome hubby to help make it happen.
He ended up helping me make it even better than what I had on paper!
We recycled some old closet doors and it gave it extra charm.
A few other cute details and it came together and made four kids really happy!
I’ll be sharing the full build plans and more photos in today’s post.
I hope you enjoy and get inspired to create your own fun space!
CHRISTMAS SHOPPING? Here’s my Play Kitchen Gift Guide! Enjoy!
We are by no means professional carpenters.
We’ve only built from scratch a few times and learn something each time.
Sharing this because YOU CAN DO THIS!
The basic idea for this project is to build the frame, add countertop and if you want, frame it out.
I wanted it to feel solid and that helped make it a sturdier pretty piece in the room.
We used plywood and the recycled closet doors for the sides.
I put pads on the bottoms of the cabinets so we don’t have to worry about scratches.
We decided to not attach the side cabinet to the large cabinet so that the kids
could move it around and have it part of the fun.
For example: A hostess table where you can request a table
and get the menu before you’re seated. (Sophia’s idea. ;)
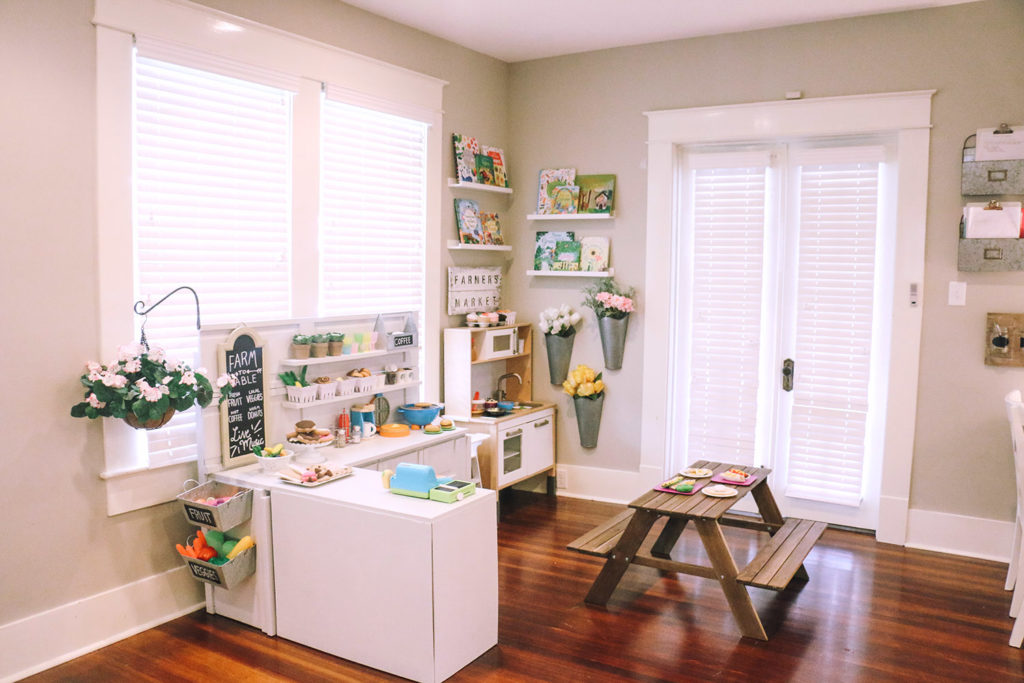
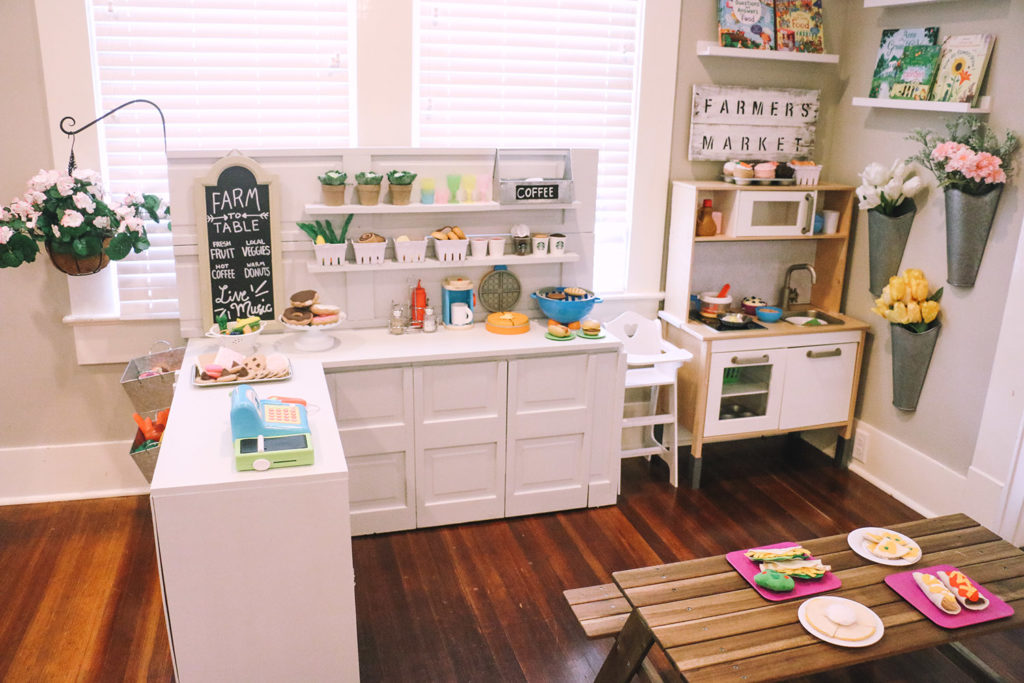
I used a few store bought items to help pull it all together and create the look I was wanting!
We already had the IKEA play kitchen in that corner…with the IKEA shelves and our favorite Usborne books.
I changed the books out to be flower and food themed for the most part.
But really we usually cycle our favorites through there.
The picnic table is from IKEA and was only $20! Last I checked it isn’t on the US website,
but it’s there in stores in the outdoor section! Here’s an Amazon option: a cute IKEA kid table option that
we have had in the past and it’s only $50!
This is a cute set up for little customers! ;)
The white rope baskets with fringe under the side cabinet are from Target.
We already had one so I got one more to hold all the felt food. They have held up awesomeeee.
I like that they are soft soft so they don’t scrape the floor when the kids pull them out.
That’s all the storage we needed and it makes clean up really easy.
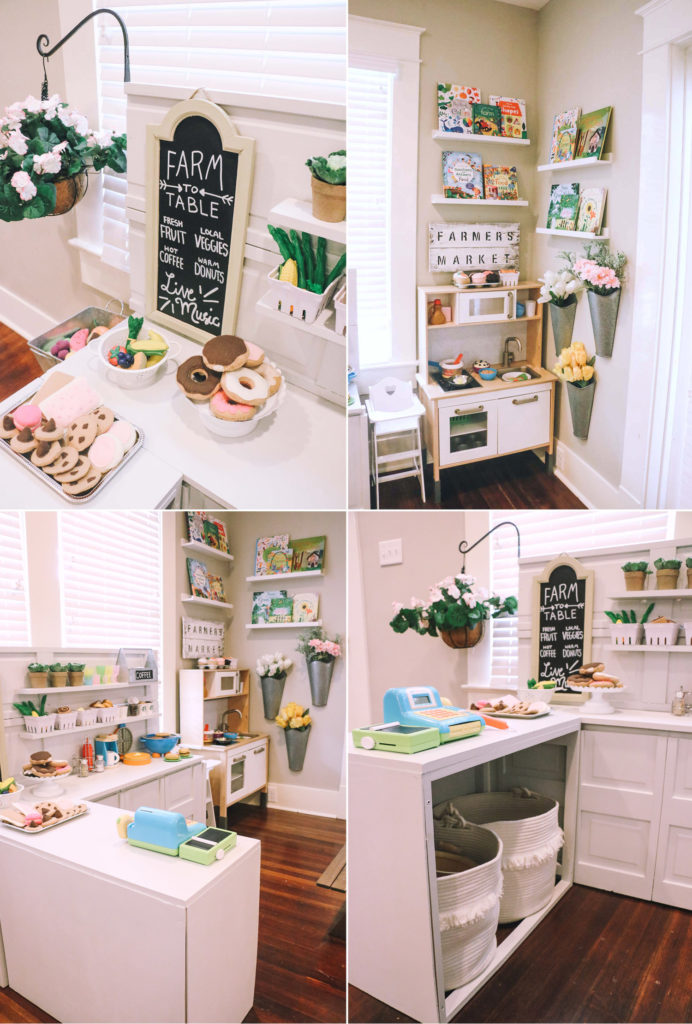
I got three wall hangers for the flowers at Hobby Lobby.
I’ve gotten asked about these a lot… check the end caps at your store.
And try to get them on sale otherwise they are kind of pricey.
Not sure if they are still at Hobby Lobby
but here’s a similar metal style on Amazon.
I got the plant hanger from Hobby Lobby and the flower basket from Michaels.
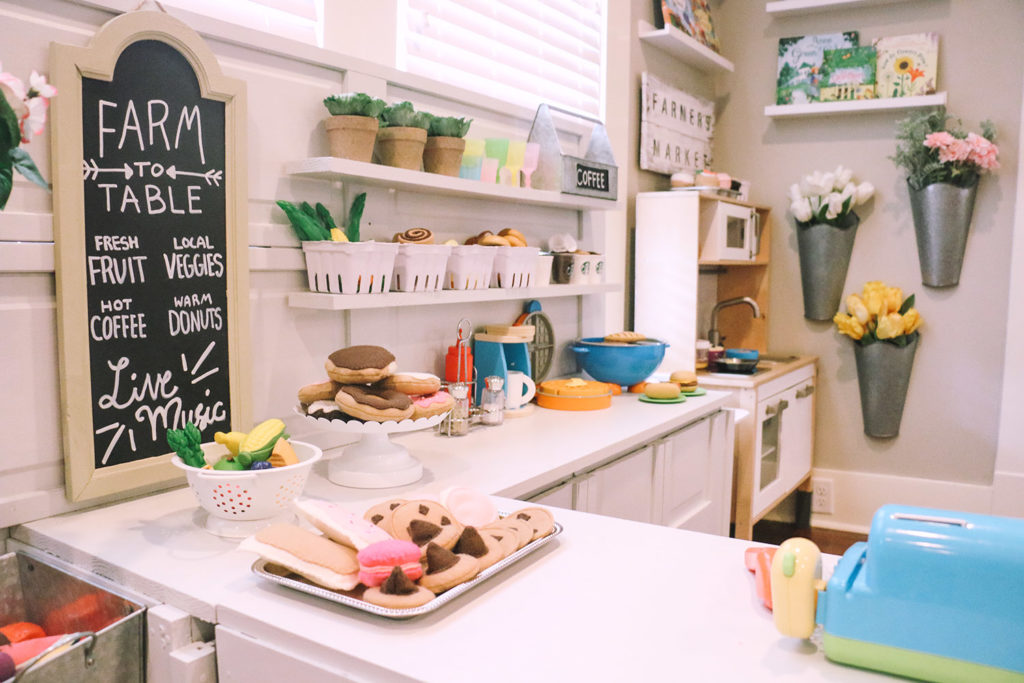
The chalkboard is from Michaels and I painted it with chalk paint from Joanns.
The ‘Farmer’s Market’ sign above the kitchen we made last year
using pallet wood, leftover paint and stencils from target.
The metal fruit and veggie bins we already had but got them from Michaels.
(They have a bunch of sizes this season too!)
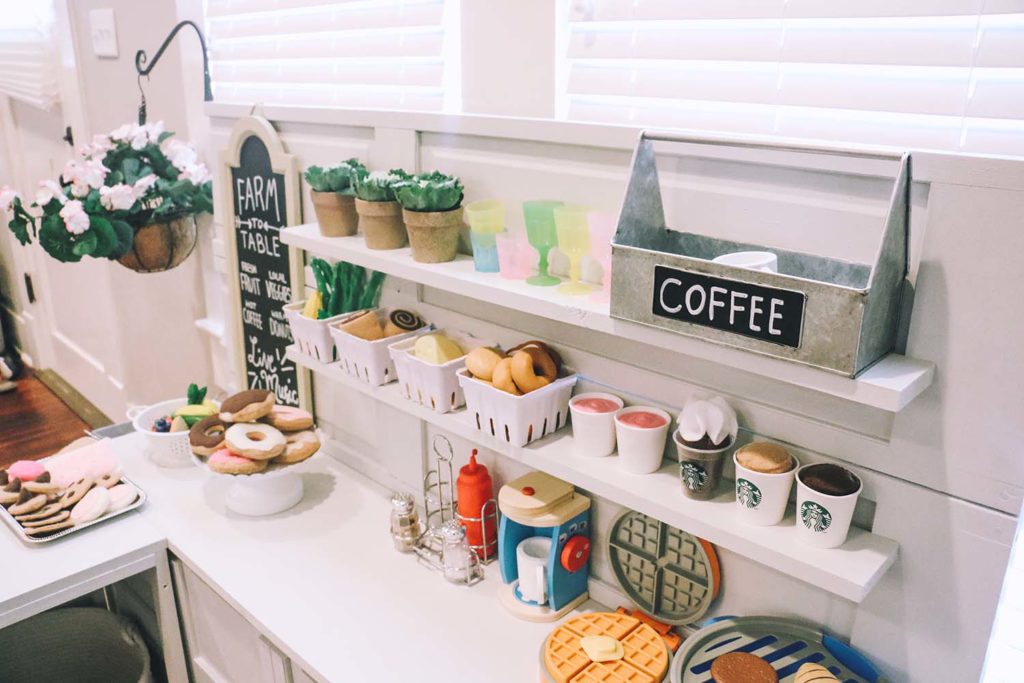
This season I grabbed the metal bin there that I wrote coffee on.
They have a play coffee maker that has pieces and they all go in there.
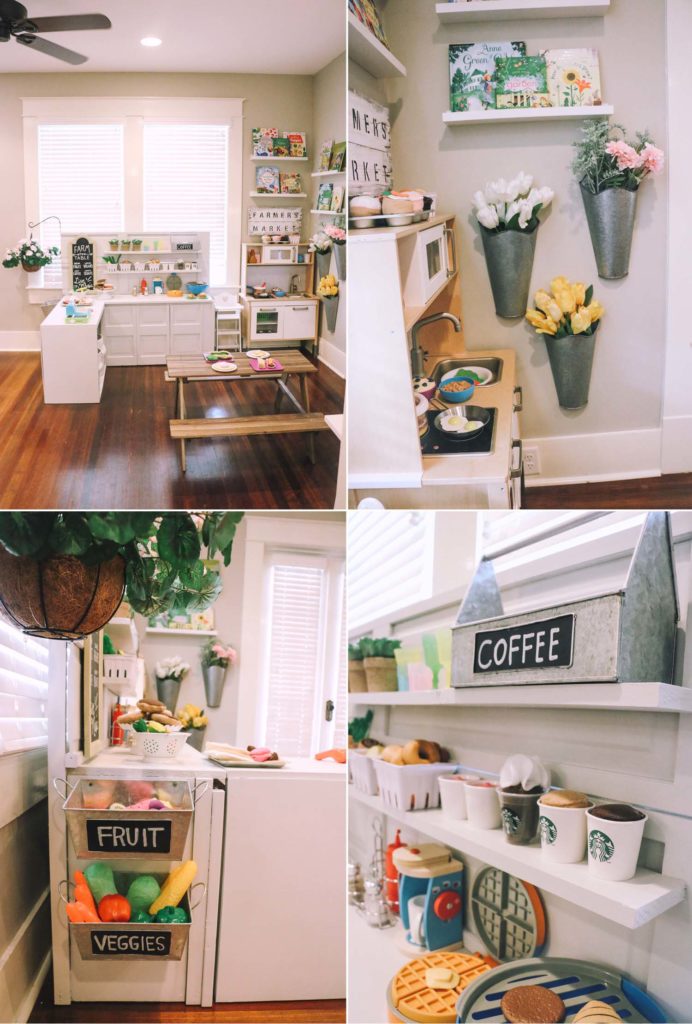
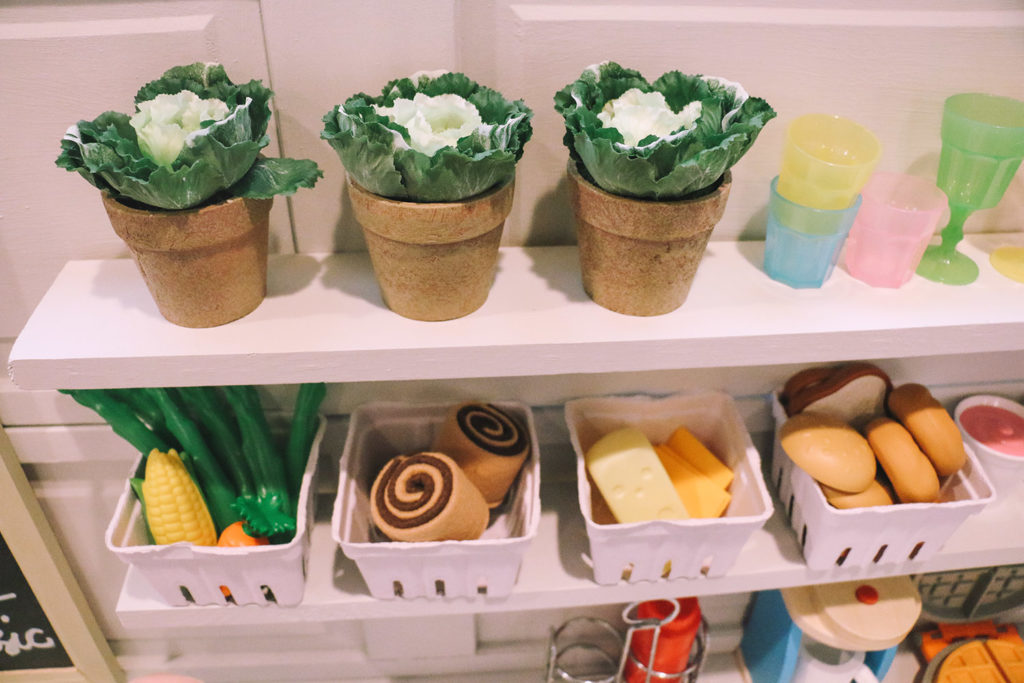
I got the white cardboard containers (on the shelves) at Michaels in the party section.
(Where they have items themed by colors.)
The metal cake stand we already had and it’s from Hobby Lobby.
The tiny cabbage plants are from Michaels. The garden section always has good sales you can wait for!
We also had the white metal colander and that is from World Market.
BUILDING PLANS
Side Cabinet
For the frame:
4- 28″ With
4 – 12 7/8″ Depth
4 23″ Legs
Countertop 16X30
Plywood for sides. (Leaving one spot open for baskets underneath, if you want!)
Large Cabinet
5 – 23″ Legs
2 – 43 1/4″ Back Legs Back Frames
2 – 14 1/4″ Side Brace
5 – 54″ Width
5 – 13″ Depth
Countertop – 55 1/2 (and notch it.) (We didn’t do this but would do it this way.)
Shelves – 6 ft x 3 1/2″ —- Cut in half. (These are the 2 shelves on the back wall.)
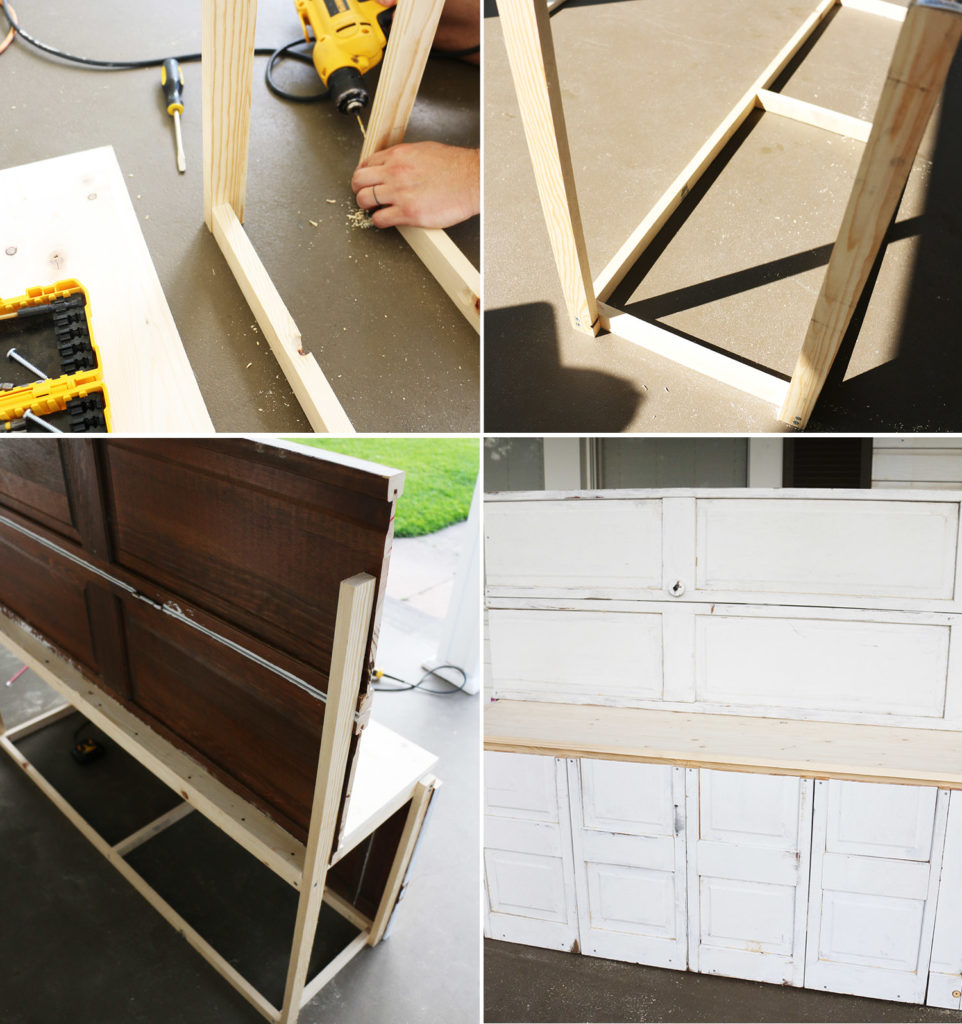
When it comes to putting the frame together:
we drilled pinholes with a thinner drill bit…
Then used a 1 1/4″ drill bit…
Then screw together with 1-1/4″ screws.
Taking these extra steps made it so the wood didn’t split.
It takes a little more time but your using thin wood so it’s a little more fragile.
We chose this size wood so that it matched up with the IKEA kitchen design.
The kids love play food and I’m always adding new felt food!
I’ve blogged about our newest felt food batch here.
It’s a creative outlet and relaxing when I work on them and always fun seeing the kids’ reactions!
Every Christmas each child gets a play food themed present!
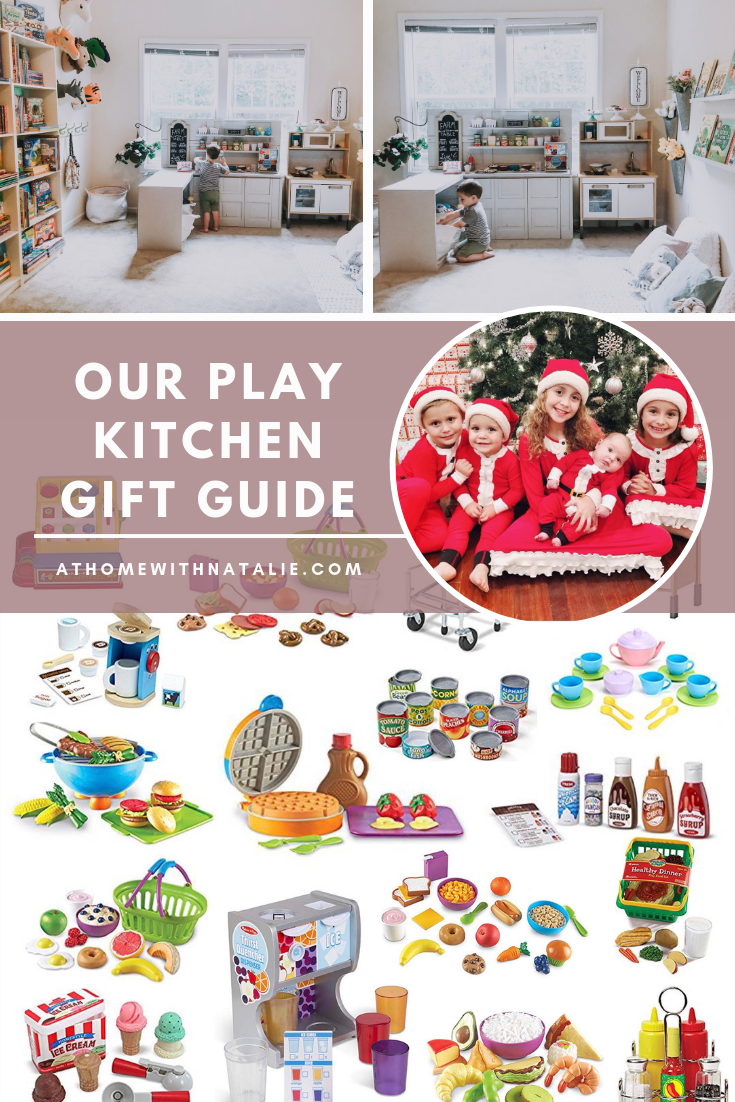
Discover all the fun play food we’ve purchased over the years!
OUR PLAY KITCHEN GIFT GUIDE
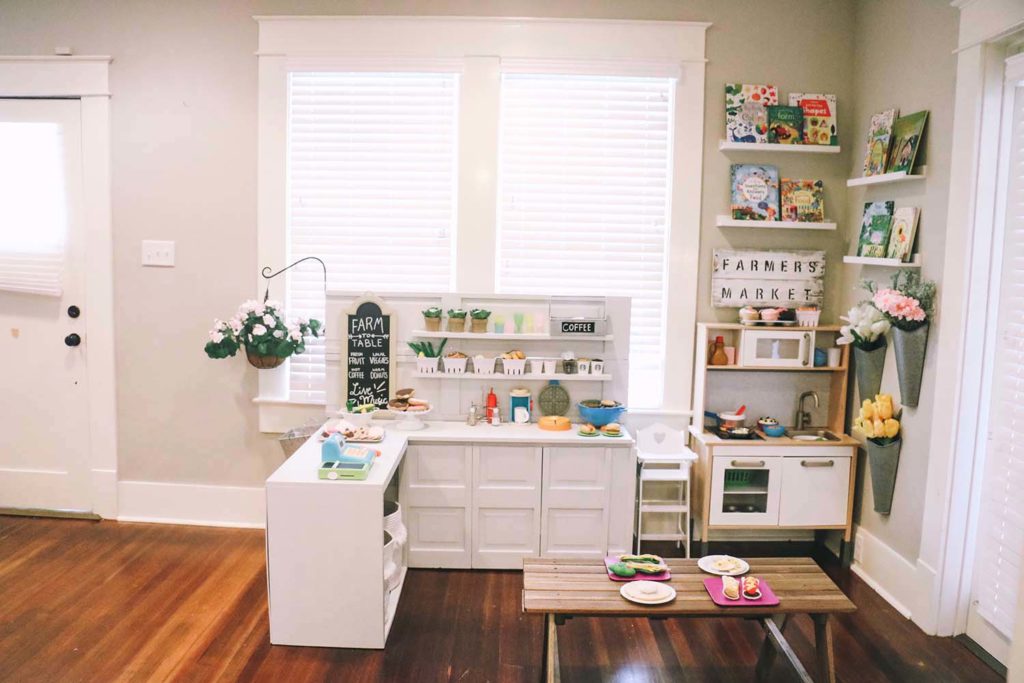
(Here’s our current play kitchen set up below!)
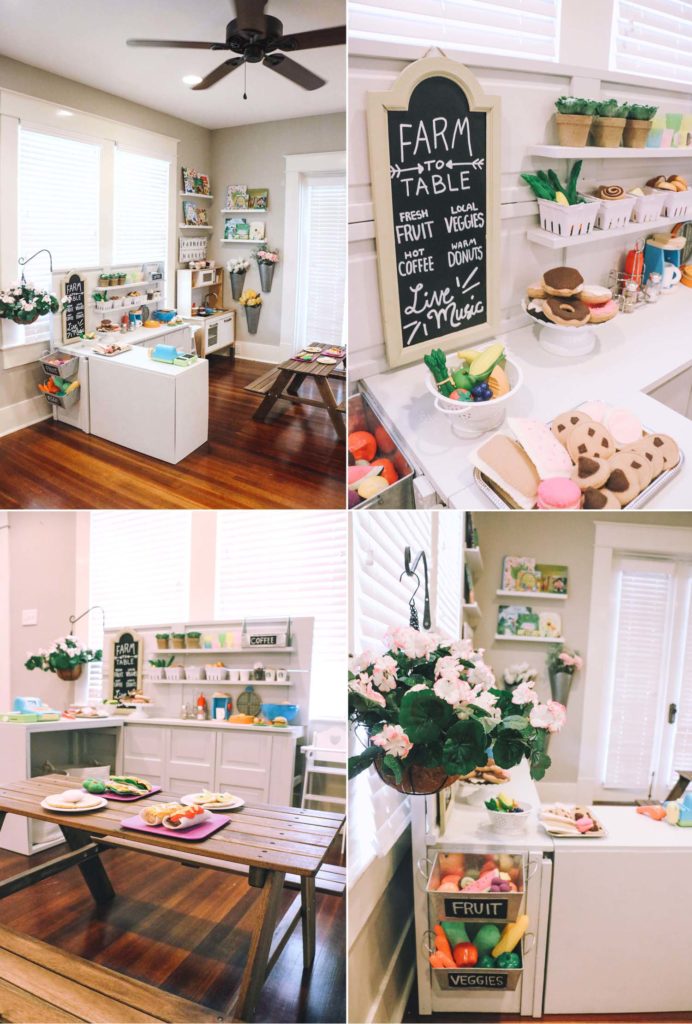
Here’s some more photos of the space! I highly suggest creating a designated pretend play space in your house.
The kids play here multiple times a day all together!
It sparks their creativity and they end up playing cafe or restaurant or house or chopped jr! ;)
Thanks for checking out our play kitchen DIY!
You can see it in action over on my Instagram. They are always playing in there in my insta stories. :)
Comment or email with any questions about the project!
*This post contains affiliate links. I love sharing our favorite things! Hope you found this post helpful!*


Andrea M Worley
May 31, 2017 at 5:14 pmprobably the cutest thing ever! can i come play?! ;)
Angie Sattler
June 8, 2017 at 7:51 amOh my goodness! One of the cutest play areas ever! The hanging plant is just too much! :)